
INSULATION
Insulation is one of the most debated topics when it comes to conversions. One person says one thing is best and another has a completely different opinion. We have all done things slightly different, and it’s up to you to figure out what is best for you depending on where you plan on being the majority of the time. Some people spend 90% of their time in hot climates, some spend most the year in really cold weather, and others (myself included) seem to be in the middle and experience both ends of the spectrum. So after my all my research and speaking with many of my van friends, this is what I have learned and personally think is best.
Recommended Insulation:
All products below are directly linked:
Where It Goes:
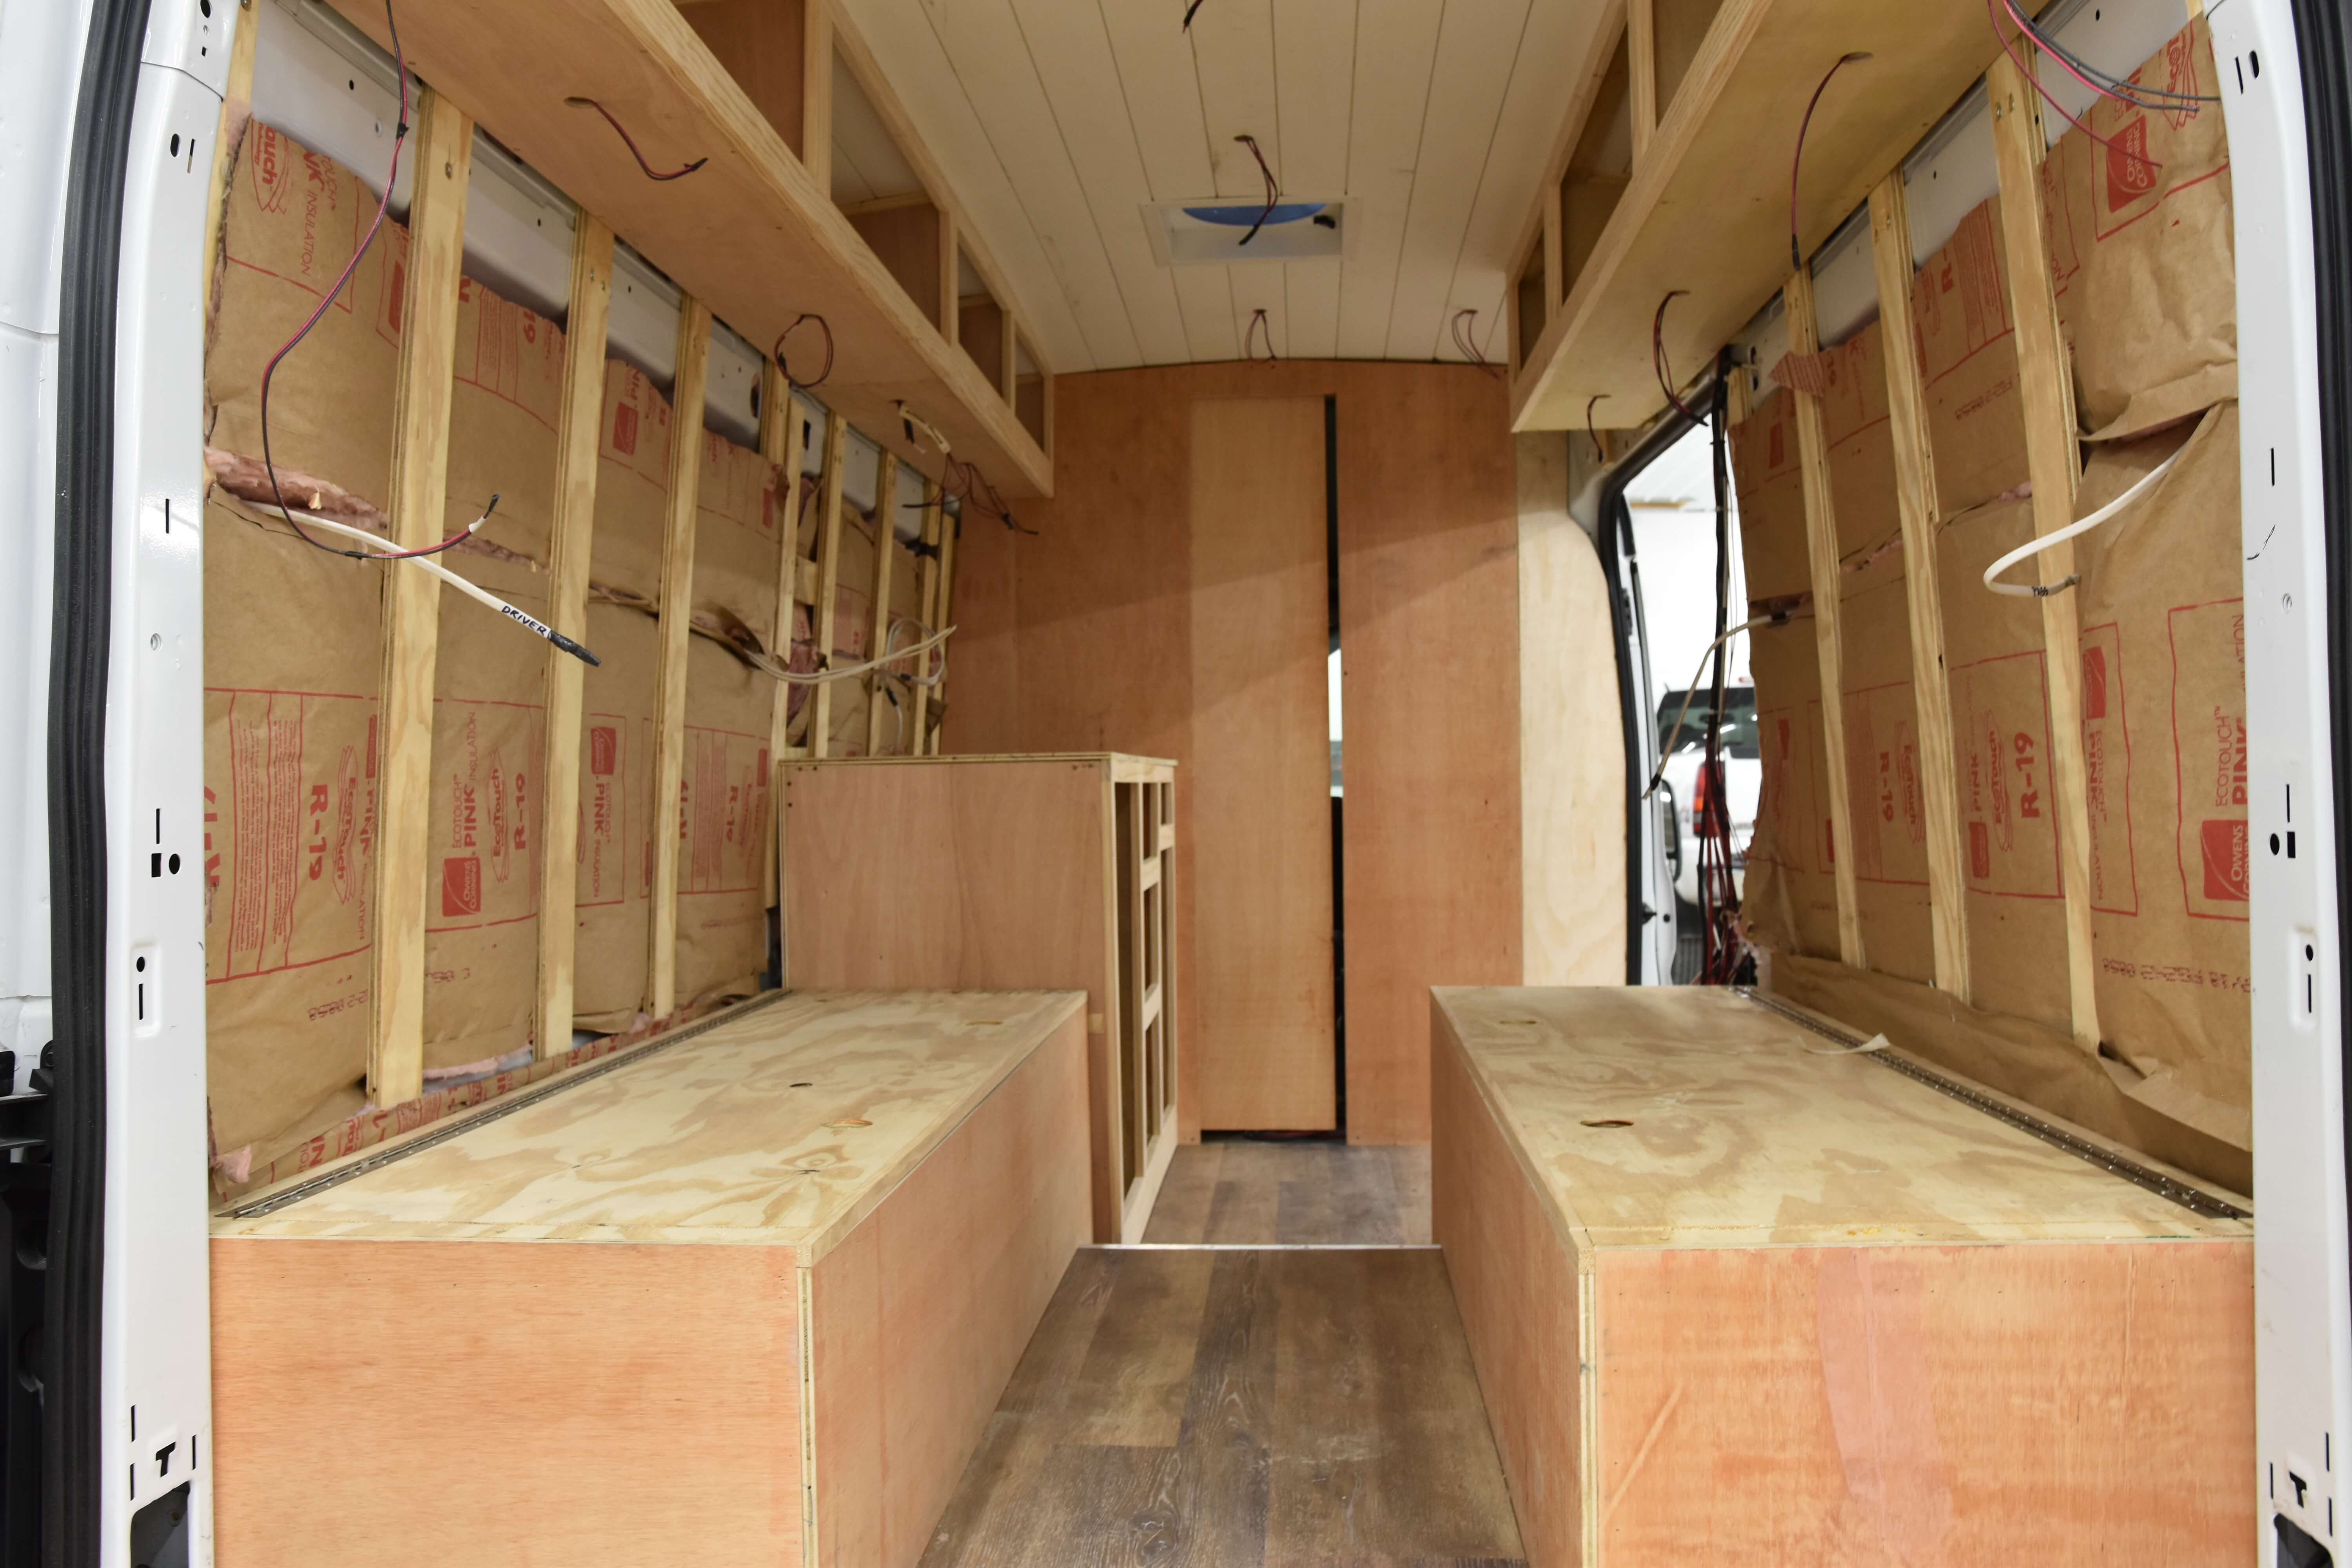
Ceiling
For my ceiling, all I used to insulate was 1″ rigid foam board before putting up the actual ceiling. I do highly recommend putting in some sort of insulation here because it will keep your van much warmer in the winter months. Heat will try escape through the ceiling when it’s cold outside so having insulation up top will retain a lot more heat inside the van.
If you plan on being in cold weather often, you may consider using 2″ rigid foam board to retain even more heat. But if you’re moving around a lot and don’t think it’s necessary, 1 inch will be just fine and will save you some money.
Floor
I used 1/2″ rigid foam board for my floor to even out the metal frame floor before putting on the subfloor. I didn’t go too crazy with insulation here because it wasn’t a super high priority. Some people may disagree and want to insulate their floor really well. Between the insulation, subfloor, and vinyl flooring, I just didn’t find it as necessary for my van.
If you do want more insulation on the floor, I recommend doing the 1/2″ rigid foam board and then adding an extra layer of Reflectix on top. It’s important not to put the actual Reflectix directly on any of the metal frame because this will completely eliminate it’s purpose. Sound deadener is also a great option if you want to decrease the noise while driving which applied during the insulation process as well.
Walls
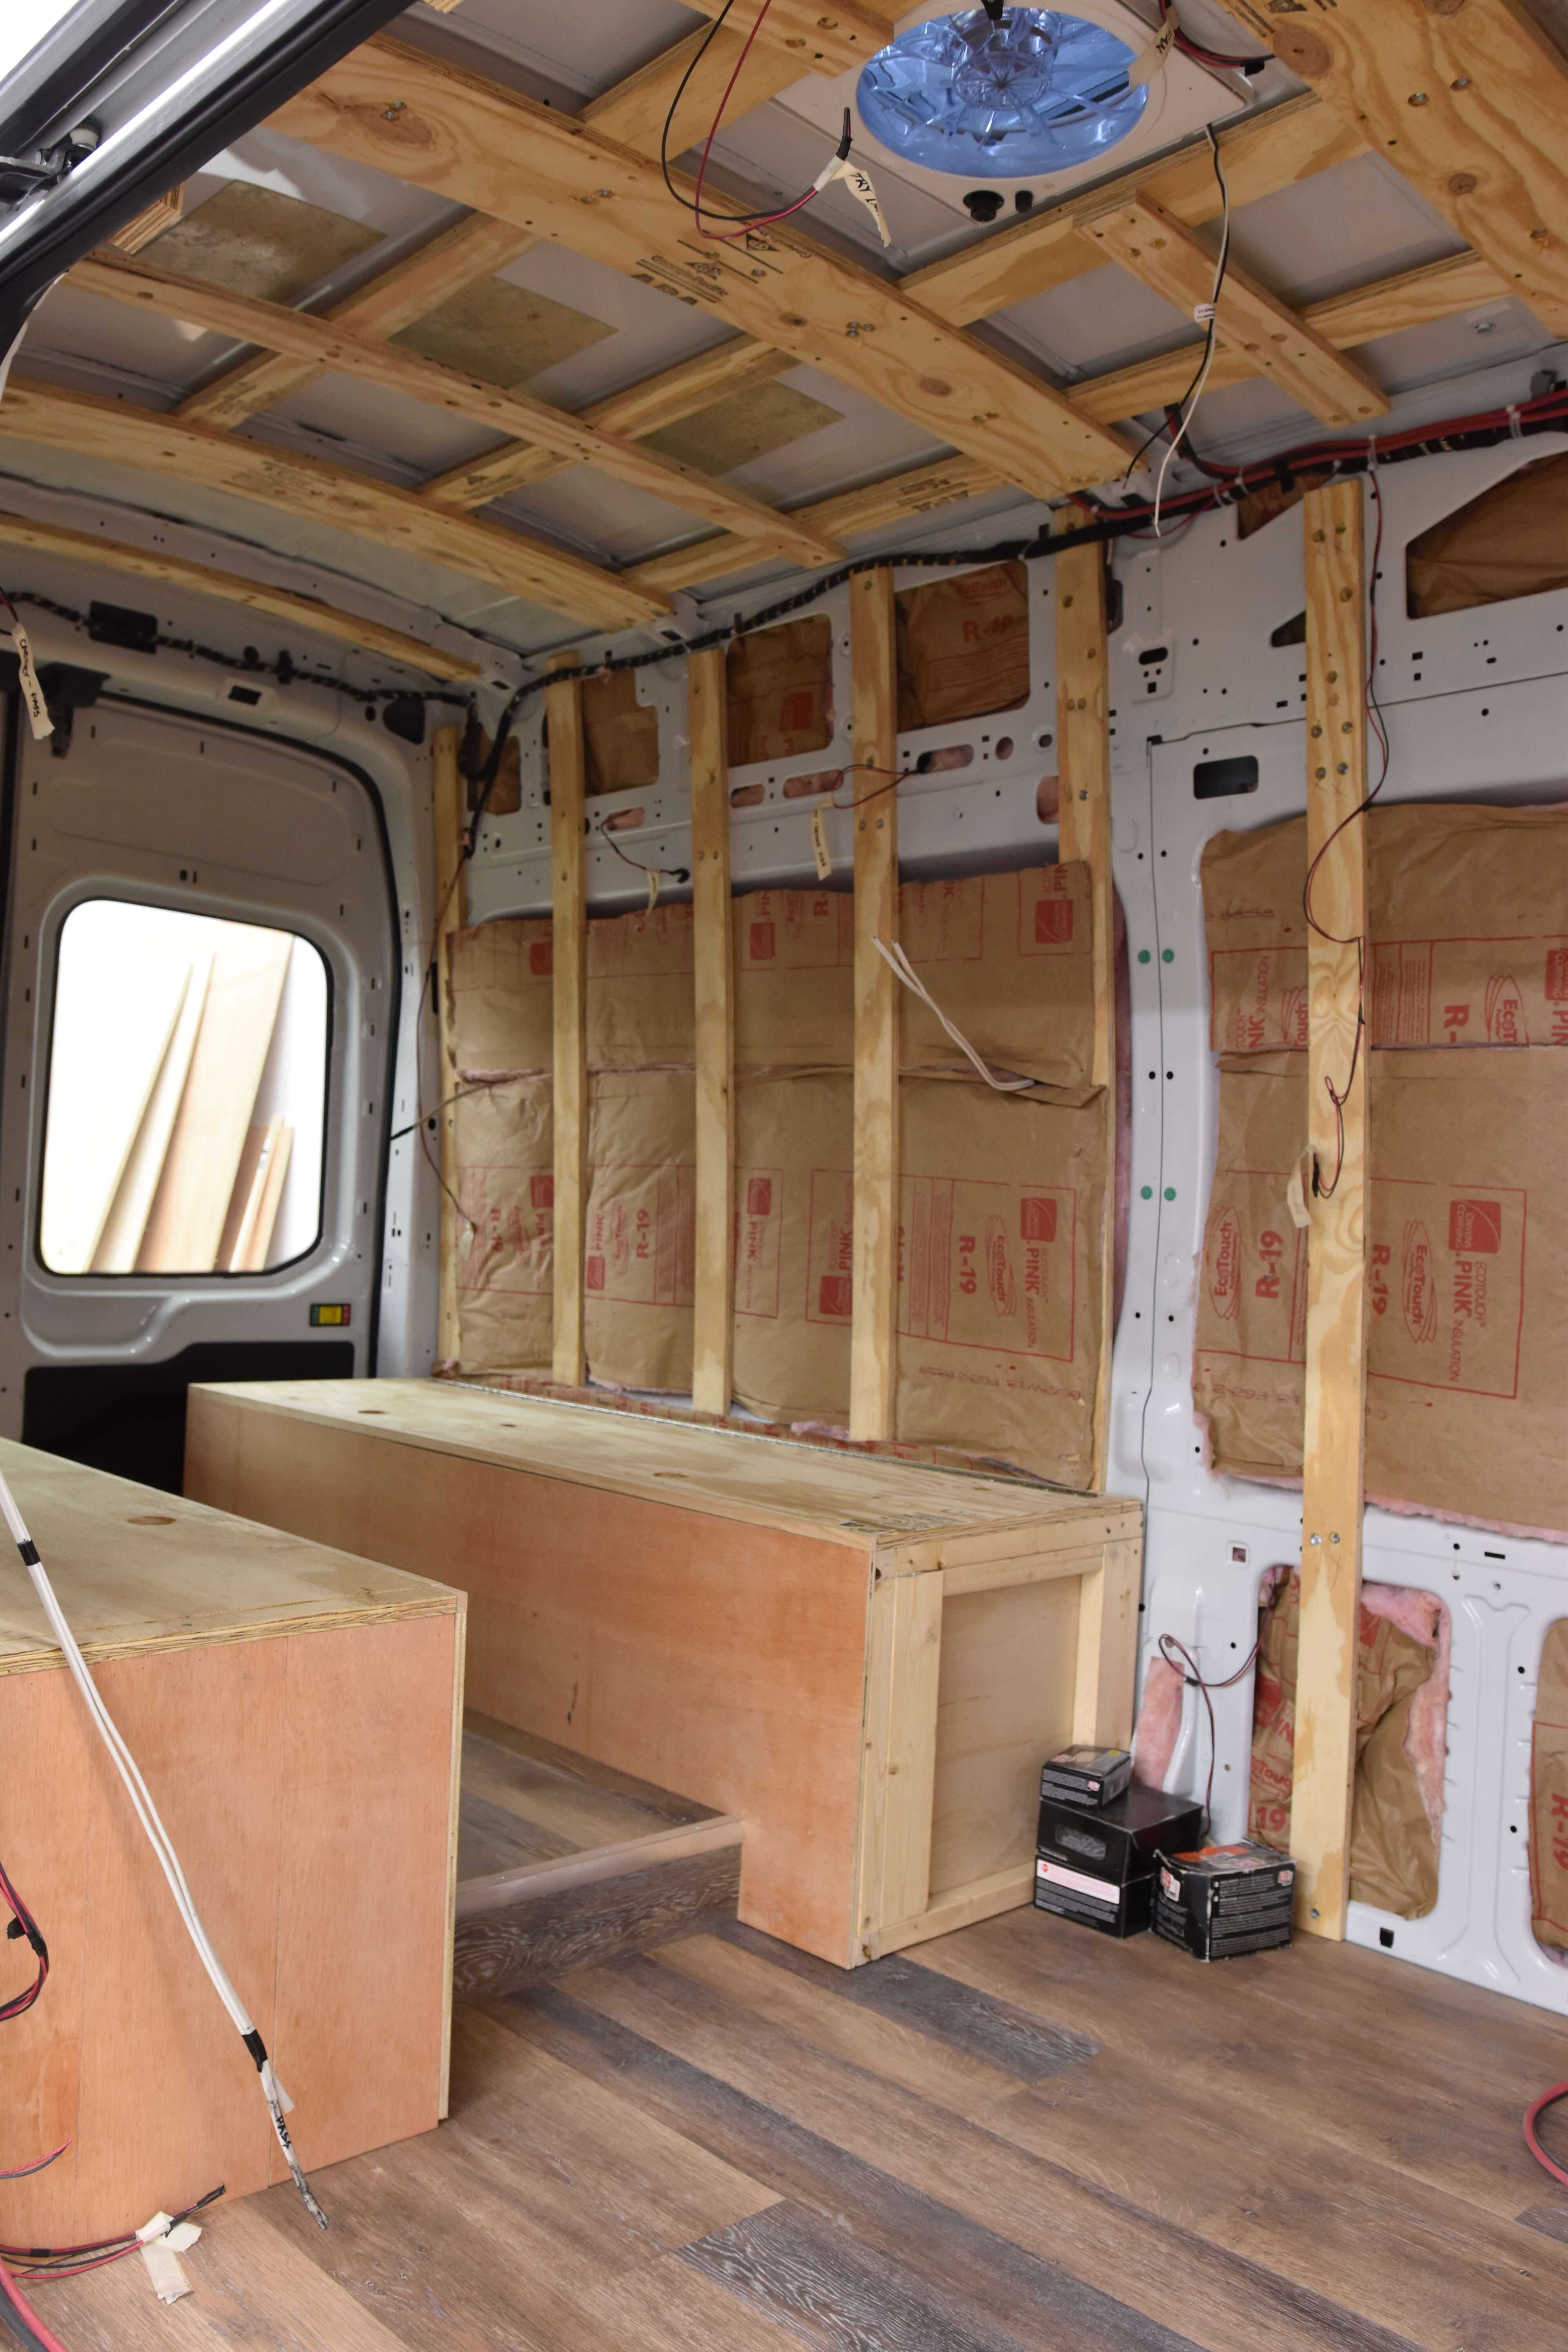
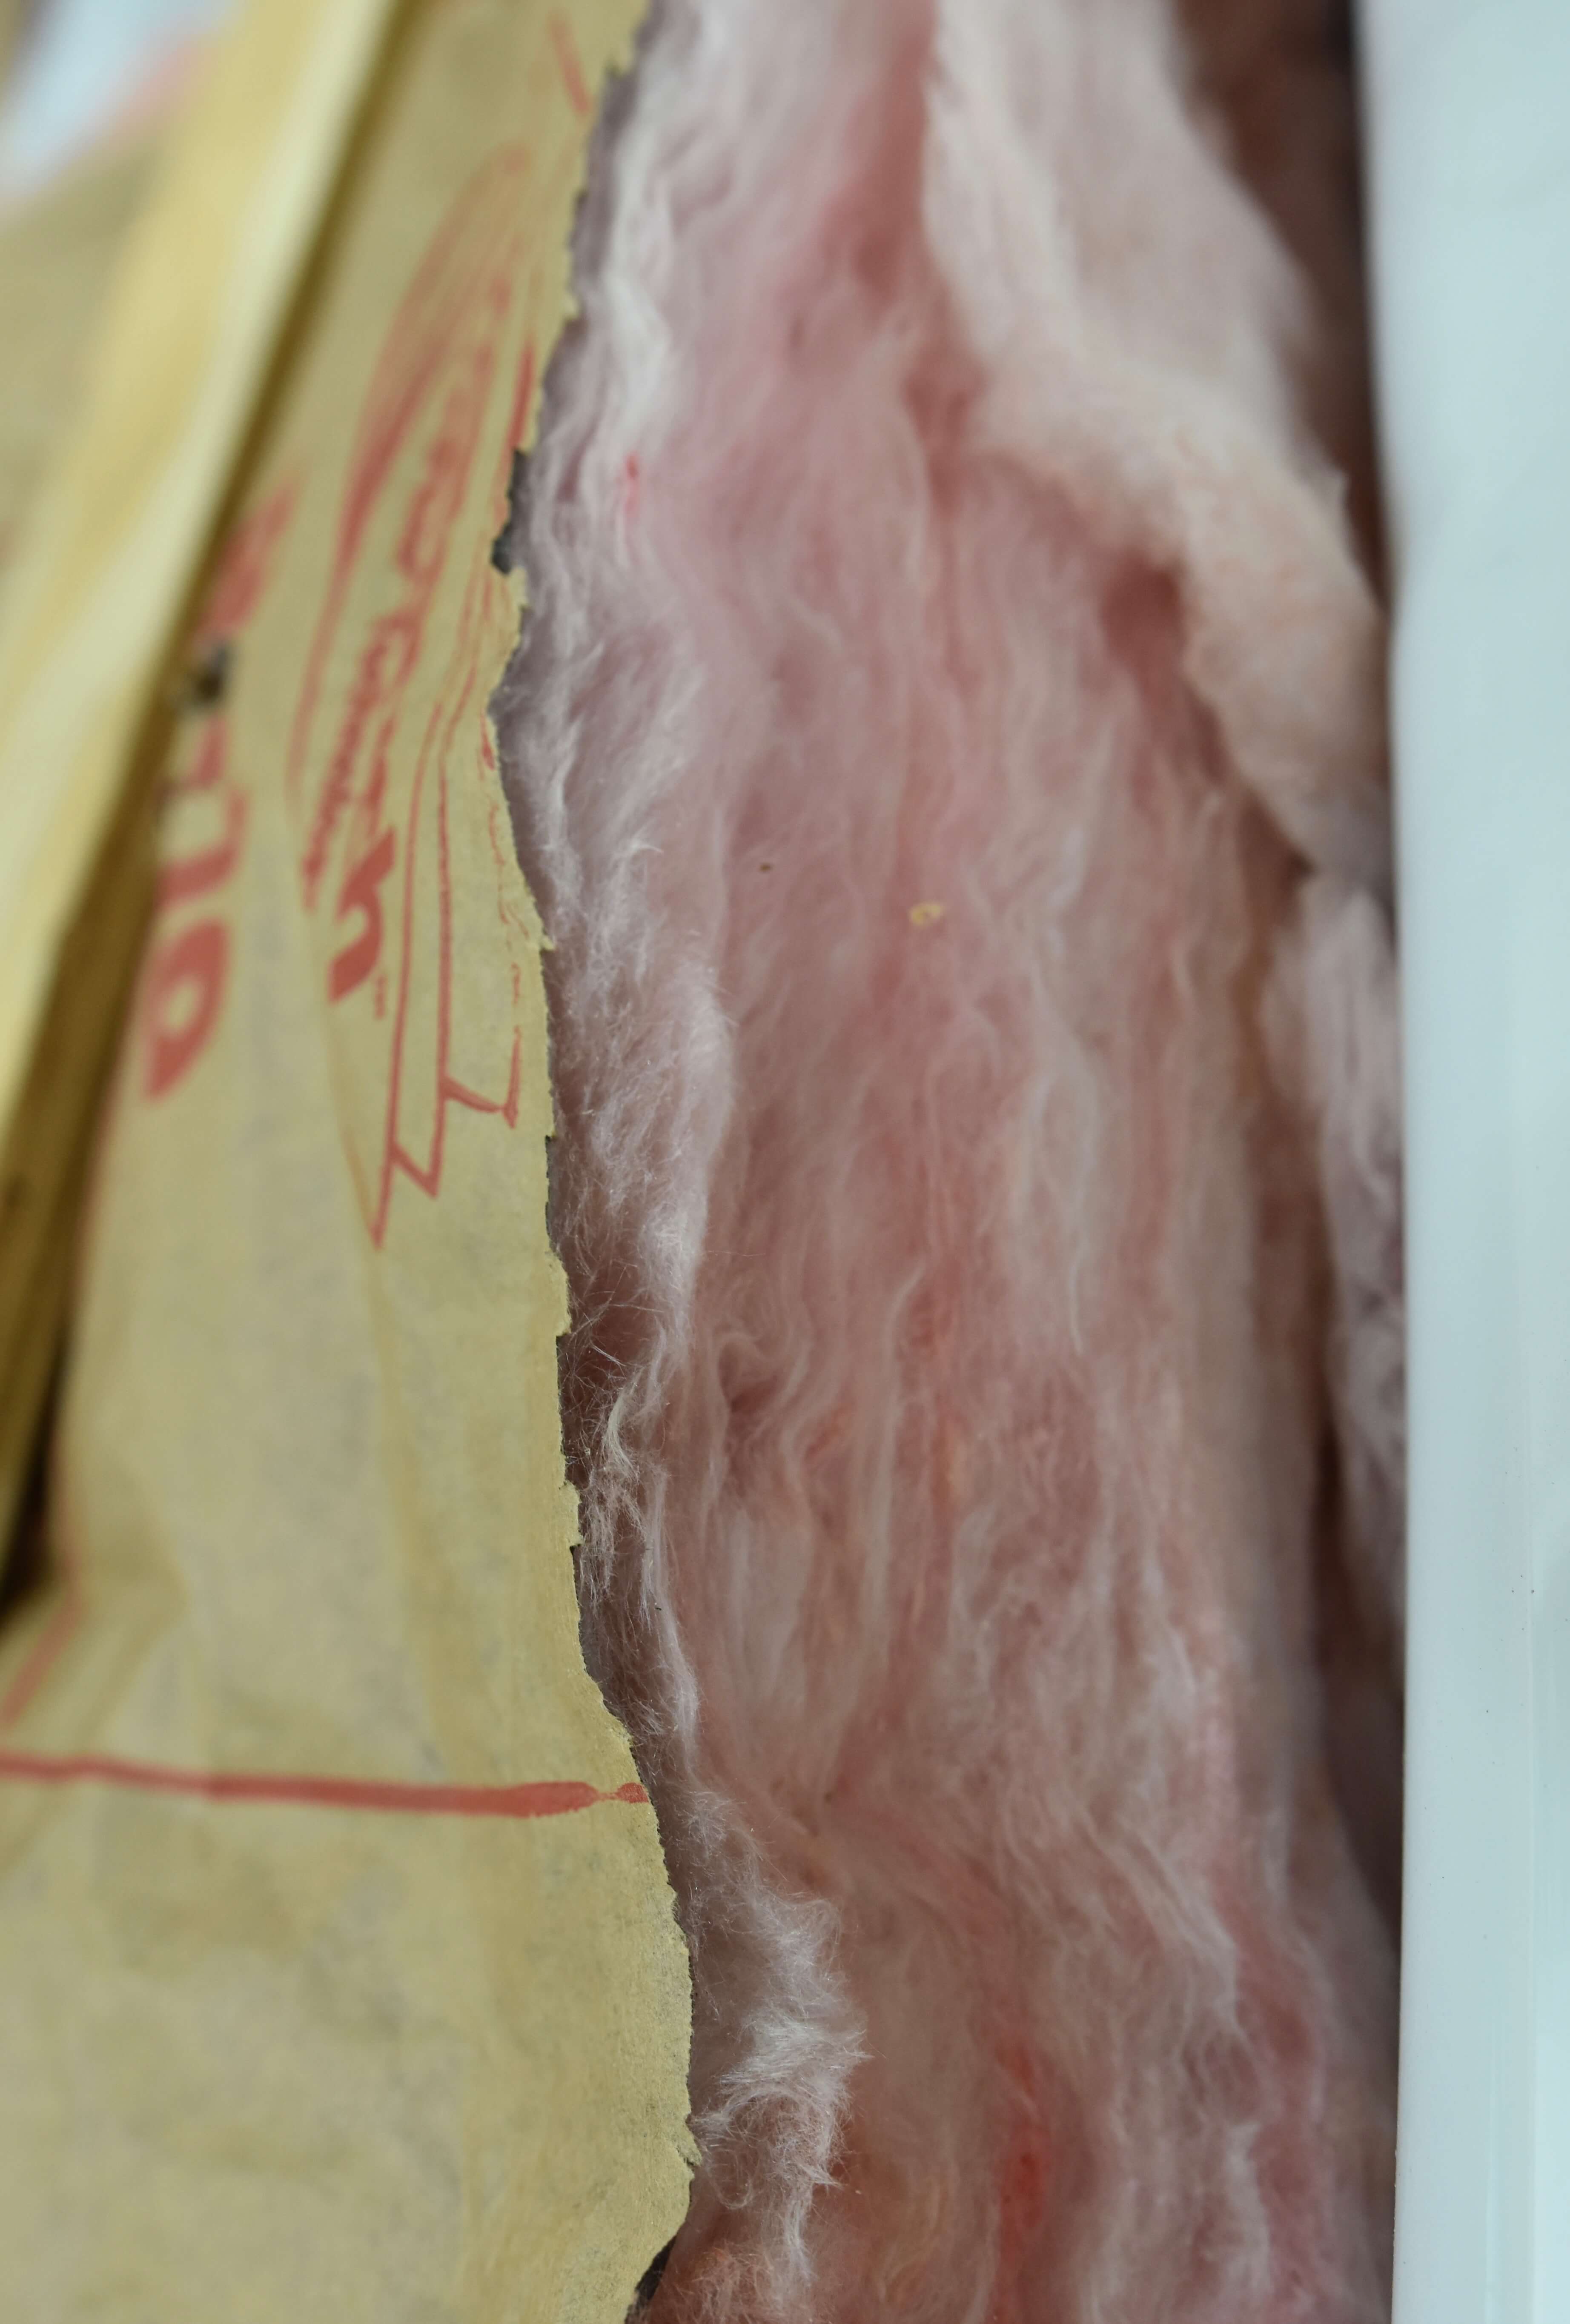
The walls are where I put in the most layers of insulation. First I put in 1/2″ rigid foam board, then applied a layer of Reflectix. As I said before, do not put Reflectix directly on the frame of your van because this will eliminate the purpose of it, also making it a complete waste of money! Put the Reflectix on after the foam board, and then the faced fiberglass insulation last. The fiberglass insulation should take up the majority of the space you have left and fit perfectly behind the framing of the walls.
If you’re on a tighter budget and don’t want so many layers, just using 2″ rigid foam board for the walls will save you quite a bit of money and insulate the van pretty well. Some people prefer using foam board anyways because it’s less of a hassle to install.
When dealing with fiberglass insulation, you have to make sure that you’re wearing gloves and protective eyewear which isn’t necessary with foam board or other types of insulation. If you don’t want to use fiberglass because of this, you can definitely use denim insulation or wool insulation to substitute. However, these are more expensive which is why I chose the fiberglass instead.
Holes, Cracks, Small Areas
It’s super important not to forget about all of the small holes and crevices around the van that regular insulation can’t fit in. This is where the Great Stuff Gaps & Cracks Spray insulation will be very handy and definitely needed! You can spray this absolutely anywhere that you think is necessary and fill any gaps that still need insulation. Keep in mind when using this that it expands quite a bit after a couple hours so only spray about half the space and check back after awhile to see if it needs more!
Windows
A quick easy way to cover the windows and have insulate them when needed is to use left over Reflectix. You can cut the shape of the window (I did this for the back windows in my van) and glue strong magnets around the edges on the side that faces the glass. This way you can put the Reflectix right up to the window and the magnets will stick to the metal frame around the window. If you want the side facing into the van to be colorful, buy a cheap fabric, and glue it down to that side. I use mine at night to block anyone from seeing inside the van, as well as on hot days to block the sun from heating the van.
Hello;
Just wanted to say that I really enjoy your site. It’s very nice and easy to navigate.
You provide a lot of useful tips,and loads of good info.
We have not bought an ambulance yet,but we plan to buy a type 3.
We are in southern Ontario here.
Thanks again for putting up this site 🙂
Your info is so helpful and well summarized. You make me feel organized just by reading it.
p.s. there’s a typo in the last sentence of your opening paragraph ( an extra “my”)
Hey there – I’m curious why you would not just use MBI or foil faced rigid board rather than the rigid board and Reflectix combo. What is the reasoning behind this? Thanks!