
FLOORING, WALLS, & CEILING
FLOORING
The floor in your van will be put together with a few components.
The first being insulation. This isn’t required but I do think it’s worth putting at least some insulation in your floor to decrease the cold from coming up through the ground in the winter. Most bare, metal floors in vans are not perfectly flat. I use this insulation to place in the “dips” of the floor to create a flatter canvas for the next step.
After insulating, you will definitely need a subfloor which will be what you attach the actual floor to later. You can get away with using anything from 1/4 inch subfloor to 3/4 inch plywood subfloor. They are really inexpensive and you can find it at any home improvement store. On top of your subfloor will be the final (visible) flooring!
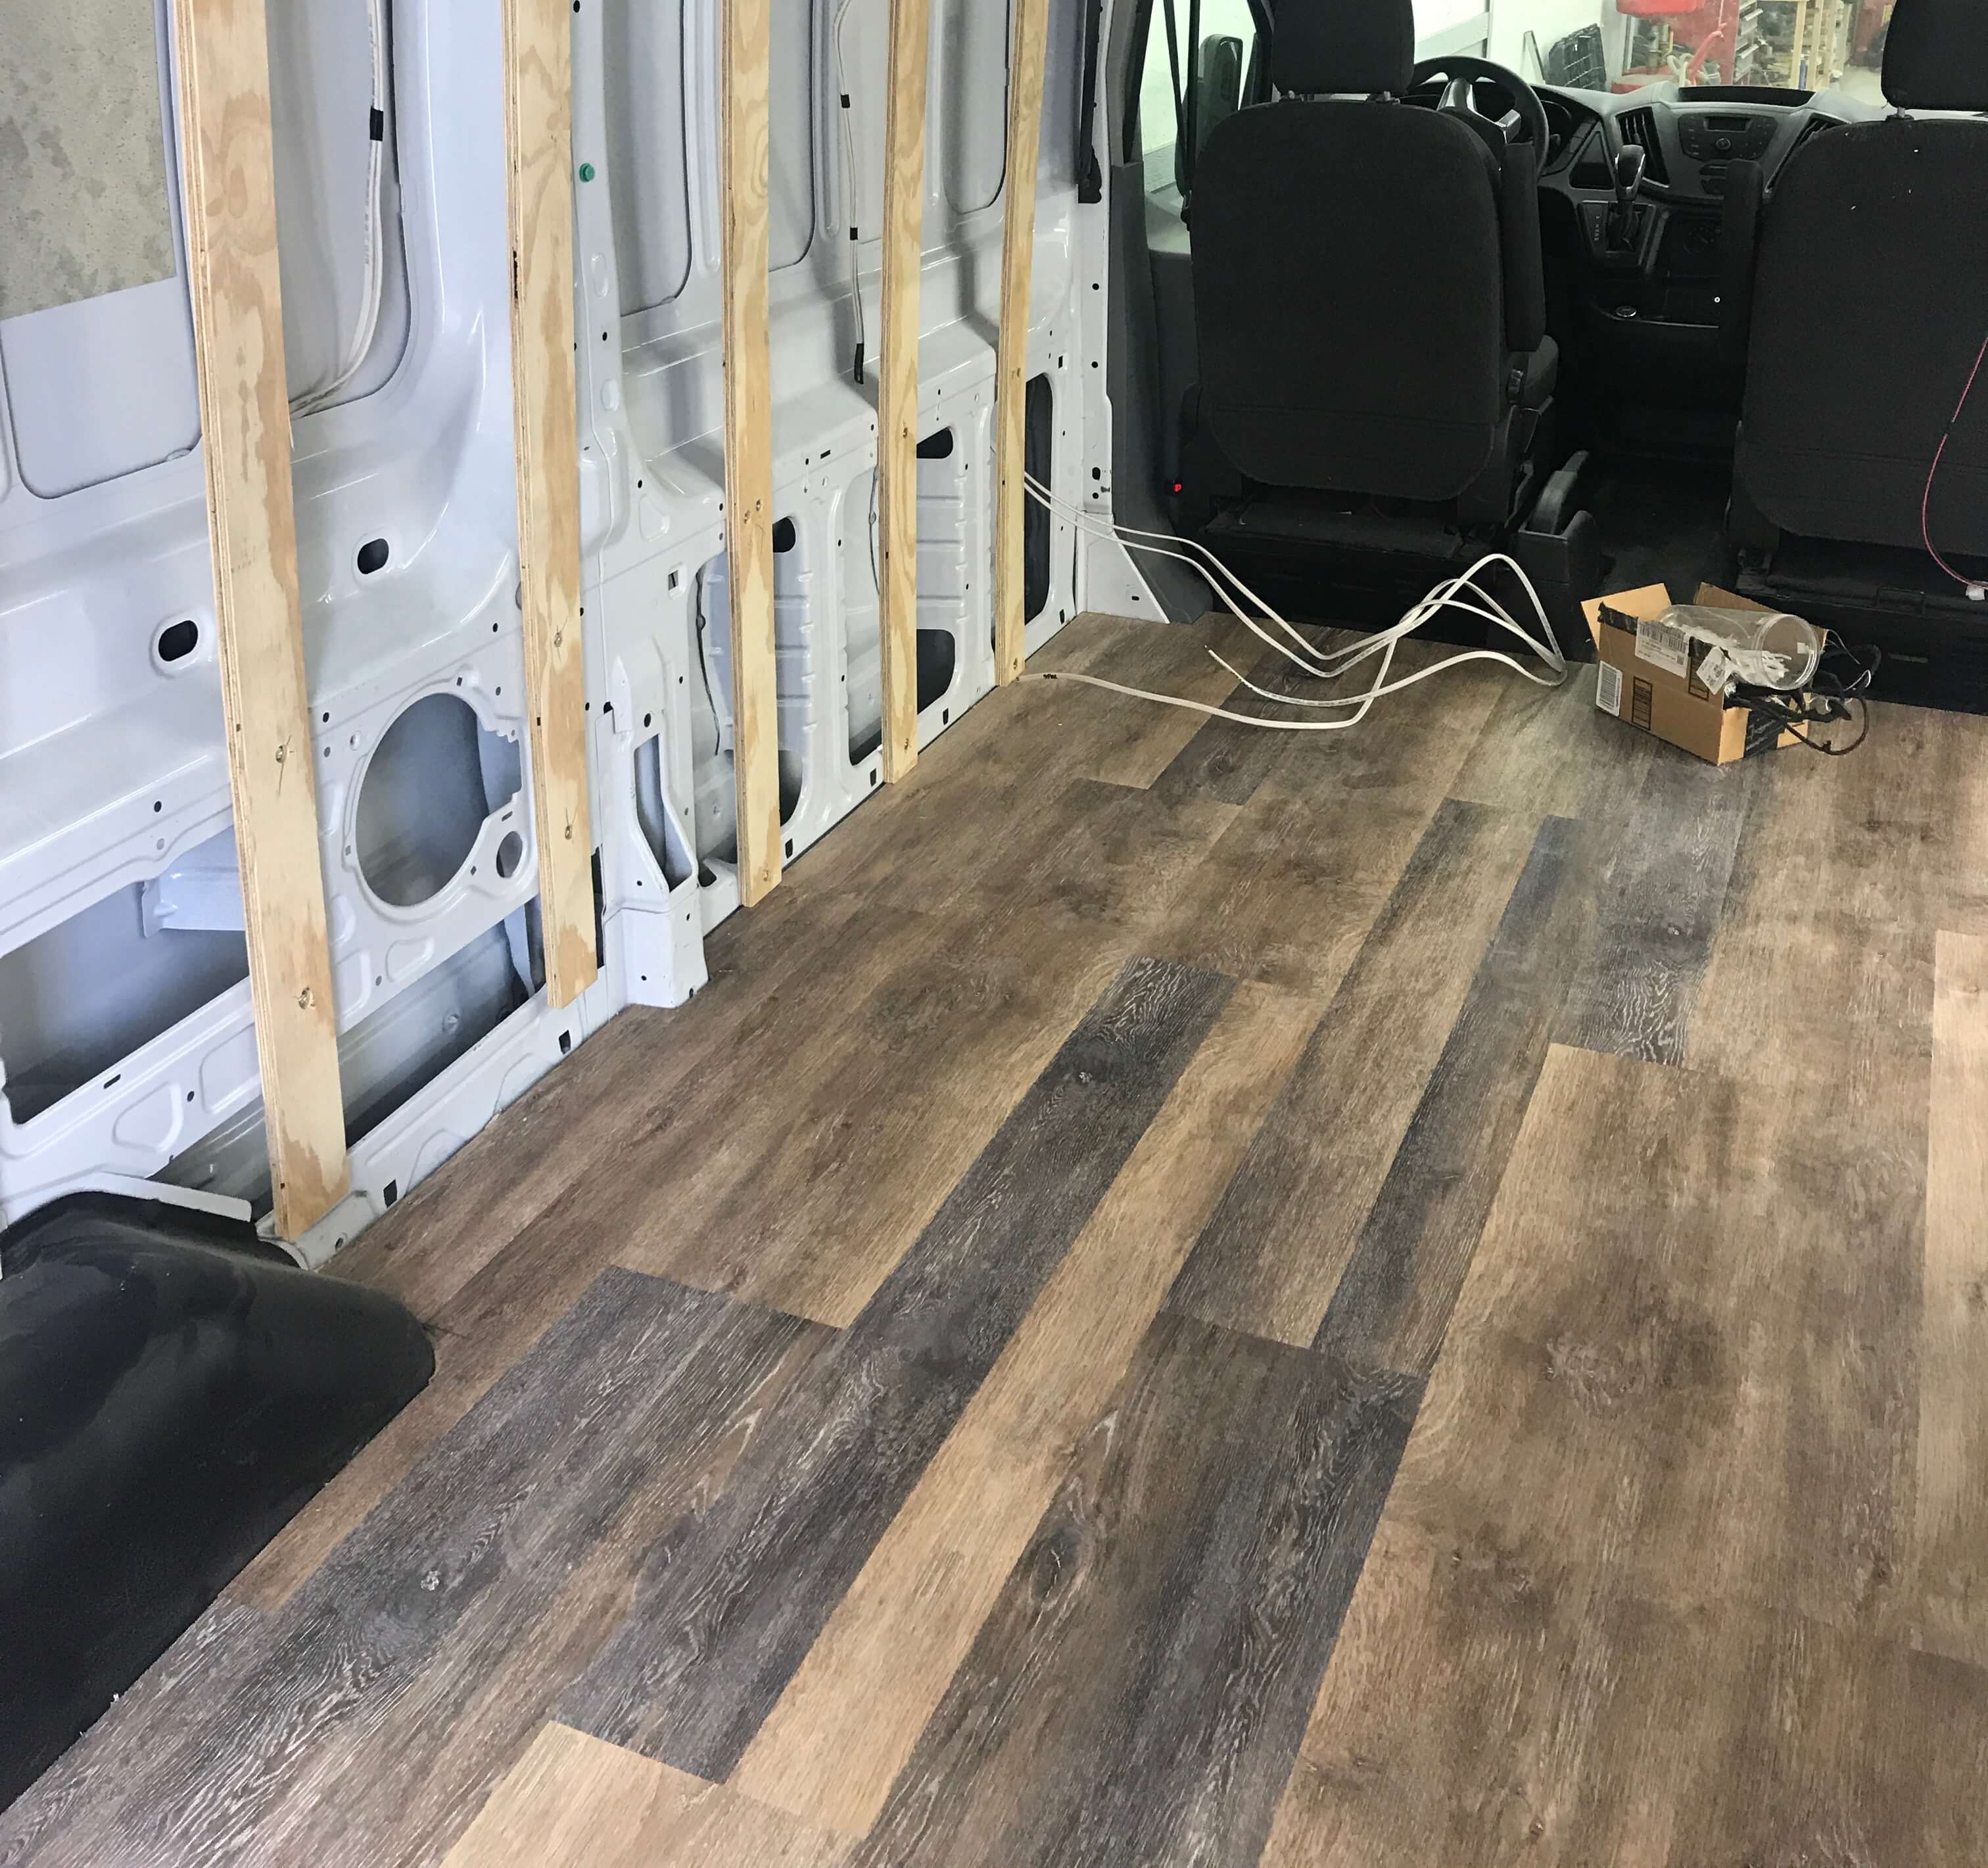
Vinyl Plank
The flooring that I recommend using (and used in my van) is Lifeproof vinyl plank. It is incredibly easy to install, pretty inexpensive, and very durable in the van. It looks amazing and there are tons of color options to choose from! Vinyl plank seems to be really common in the van community because of the easy installation and how great it looks when finished. This video is perfect for showing how to install and how easy it is!
Laminate Flooring
Laminate flooring is also a great option because it’s also easy to install and probably the cheapest choice for the wood flooring look. The only downside is that it seems to be not as high- quality as the vinyl plank.That being said, it still looks really good and is about half the price of vinyl! If you want the look of a nice wood floor and don’t want to spend much on it, laminate is probably your best option!
Old Pallet Recycling
If you’re on a strict budget, you can find some wood pallets on Craigslist! You can easily break up pallets and lay them down on the subfloor to create rustic- looking floor. You can get pallets for a super cheap bargain or sometimes even free. This won’t look the cleanest or best- looking but plenty of people do it and turns out perfectly fine! It is certainly the most budget- friendly option of them all.
WALLS
Your walls will be next up in the conversion process, and you’ll have a lot of options here as well. I think before beginning this step, you should definitely know what you want your overall “look” to be in the van along with how much your budget will allow here as well. Once you get those figured out, you can narrow down your options!
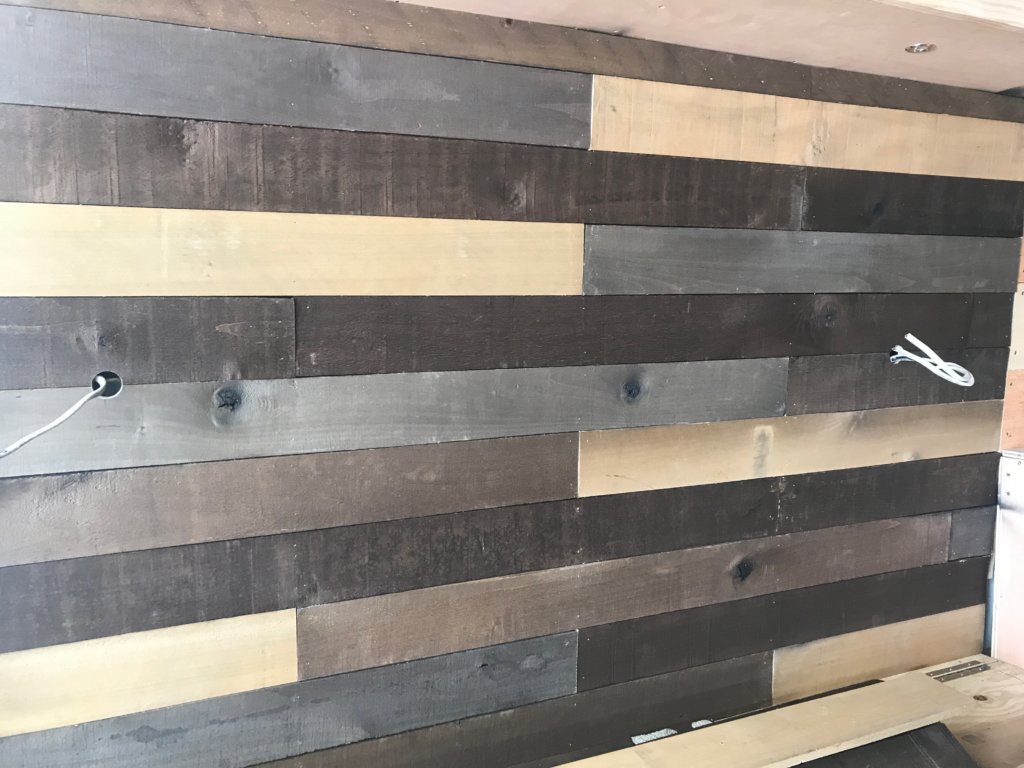
Weathered or Reclaimed Wood:
For my conversion, I really wanted the walls to have a weathered look so I went with this hardwood board. We framed the walls with standard studs to screw into and mismatched the wood for a unique appearance. A lot of people prefer white walls so if you want a similar “barn” style look that’s white, this pine is probably perfect. These can be a little pricey compared to other options but they save you a lot of staining or painting down the line for the desired look.
Any Tongue and Groove:
A really popular choice for anyone wanting a cabin feel to the van and not wanting to spend as much. You can get pine paneling for a great deal and paint or stain it any color you’d like. This is what I had in the first van build, painted it white, and it looked amazing. You can also go with 1/4 to 3/4 inch with paneling. 1/4 bends better to the walls but 3/4 inch just isn’t flimsy at all and is much more durable. I recommend going to the home improvement store and looking at them so determine what you prefer.
Plywood Sheets:
This is the most budget- friendly option and can still offer your van a beautiful home-y feeling without spending much at all. These sheets are also incredibly easy to install compared to the other options. Using 1/4 inch plywood is definitely your best bet because it will curve very easily to the round shape of the walls. You can paint or stain these as well giving it the appearance you are going for!
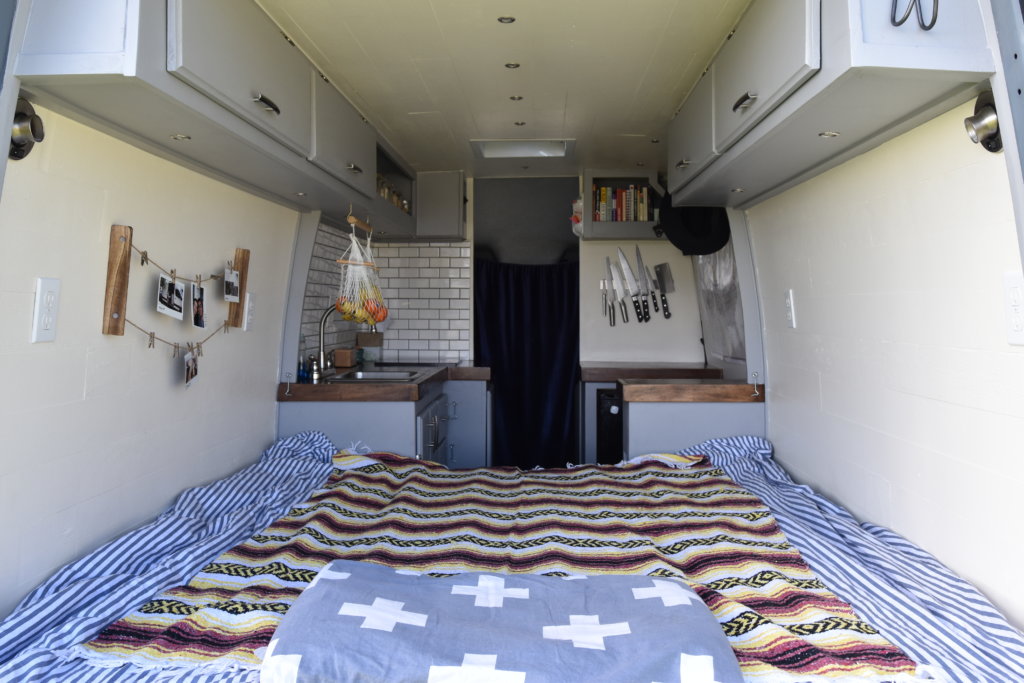
CEILING
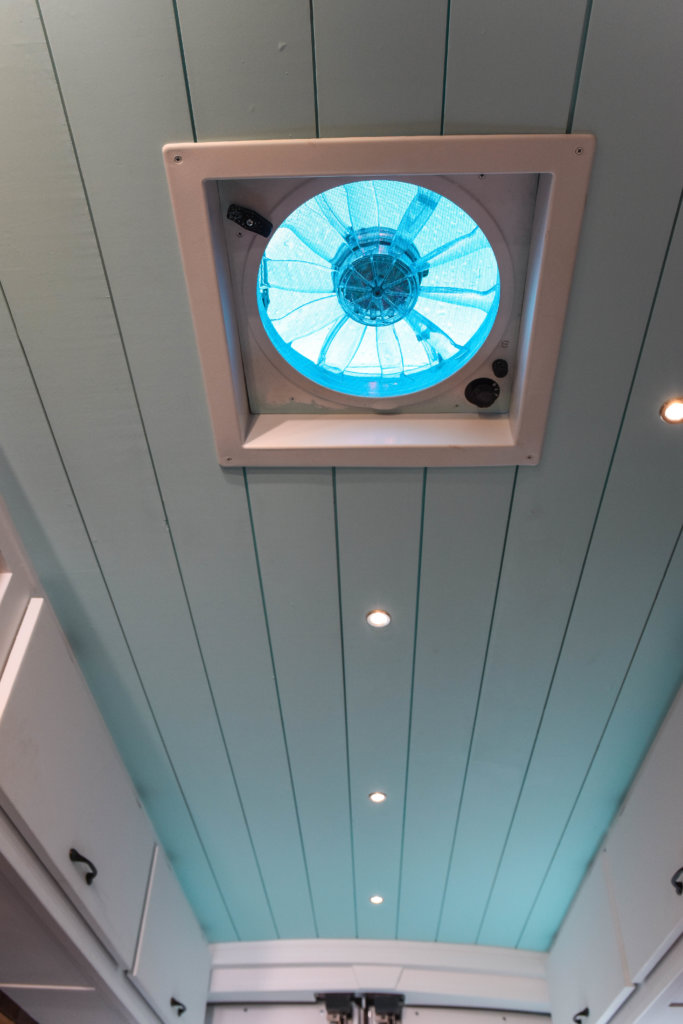
Tongue and Groove Shiplap:
Tongue and groove shiplap is handy for the walls and ceiling. Even though I didn’t choose it for the walls, it was still nice to use for the ceiling because we found 12 ft. panels that went the entire length of the van. I have seams going length and width wise on the walls, so I didn’t want them on the ceiling as well. This just offers a cleaner look and easier installation than the weathered boards going everywhere.
If you do tongue and groove walls, you can certainly use the same materials for your ceiling as well. Having the ability to paint it means you can make the ceiling and walls look however you really want with this shiplap!
Divine,Would you please share the color paint your use on your ceiling?
What brand paint you buy?
Thanks for your answer🌻
Samari
By any chance do you have any van build help recommendations in Los Angeles?
Thanks!!
Hi Sydney
I’m a native San Diegan, just wondering if you’re from here too?
Also, do you have any suggestions were I can go to get help with my van conversion? In San Diego or close by?
Love your social media!
Thank You!