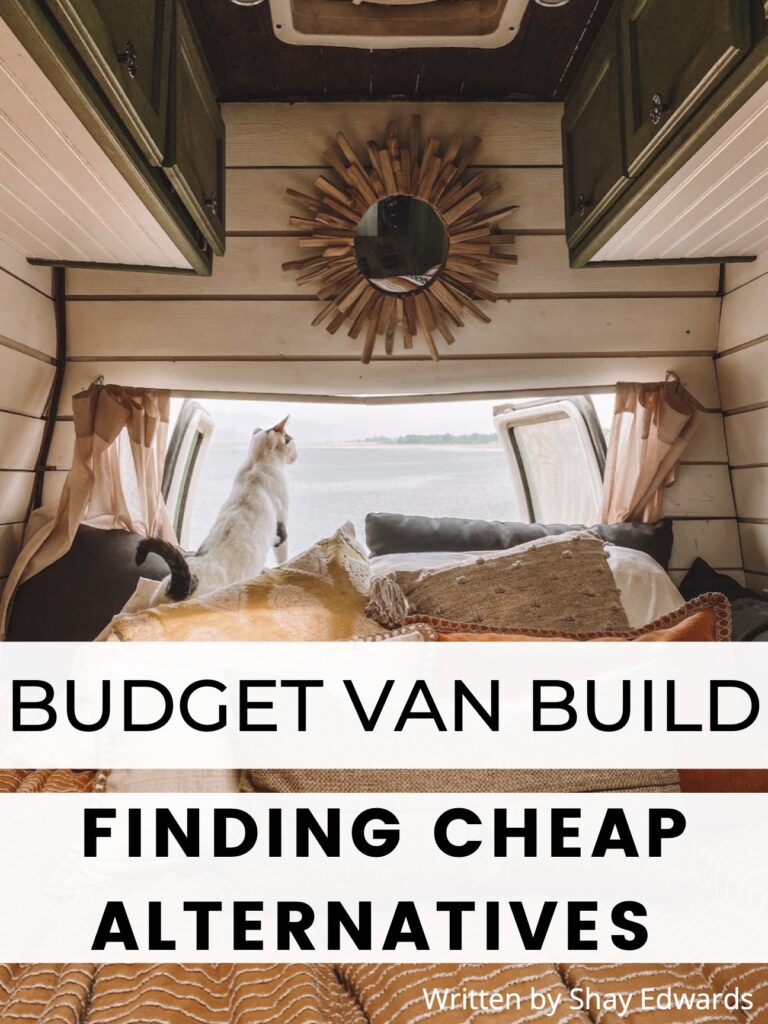
When you begin the process of building out a van to become your home, it can seem really overwhelming when you start to add up all of the potential costs in your head. Between a bedroom, a kitchen, and a bathroom, things can really add up. If you’re anything like me, you’ve dreamt of this moment forever, but you definitely don’t have the savings account to pour tens of thousands of dollars into your new space. I live in a 1984 Dodge Campervan that I was able to convert into my dream home for a total of $7,000. Here are some ways I was able to get everything I wanted in my van build at a fraction of the cost.
Toilet
Before I started my build, I assumed I wouldn’t be able to have a toilet inside and I would have to rely solely on public facilities. I had heard people go on and on about composting toilets that range from $1,000 or higher, and that was definitely not in my budget. A few weeks into my conversion, I was told about something called a Luggable Loo, which is essentially a bucket with a pop-on toilet seat lid that would only run me $20. I immediately ordered one, and havent looked back since. You can purchase chemically-filled bags which break down the contents and smells, and it has been a real life-saver for me on cold and dark nights when I need to use the bathroom, but don’t want to leave my van.
Shower

I had always seen beautiful pictures online of people showering out of the back of their rigs, but quickly learned that some of the roof-top or hot water shower set-ups could run me hundreds of dollars, and decided to give up the dream of having that in my build.
One day, while strolling the aisles of Walmart for propane, I found a 5 Gallon solar-powered shower bag in the camping section. I decided to pick it up and give it a try, and have absolutely loved it for an off-grid option since I moved into the van. You simply fill it up with water and lay it in the sun, black side up, for a few hours, and the water heats up to a great temperature all on its own. My partner and I pair it with this collapsible shower tent for privacy, and we are able to shower out the back of our van for a fraction of the cost!
Cabinetry
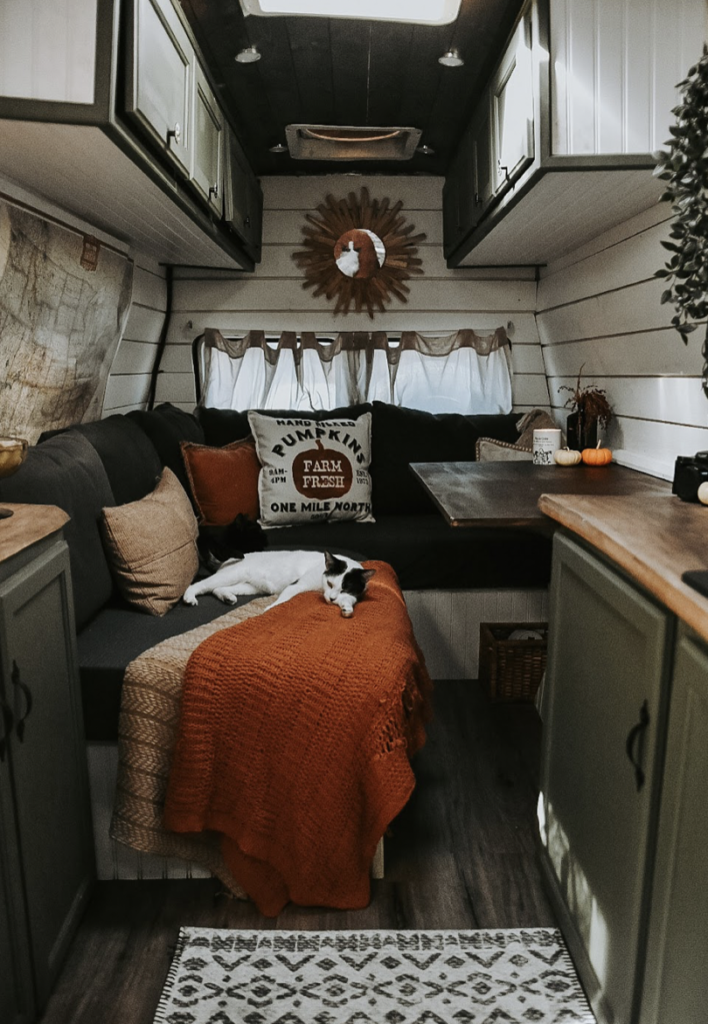
When I got started with my van build, I had ZERO clue how to build anything. My most relevant building experience was probably putting together Ikea furniture in my old apartment, and still I found a way to mess that up most times. With the price of lumber raising daily, I was worried that I would end up spending thousands on trial and error to make things like kitchen and overhead cabinets in my new space. My step-dad luckily has been flipping homes for years, and told me about Unfinished, Stock Assembled Cabinetry at hardware stores like Lowe’s and Home Depot that run for about $50-$100 and are completely ready for install.
This is probably one of my favorite building hacks to stay on budget because all we had to do was paint them our desired color and they were ready to be screwed into our van the next day. No cutting errors, wrong sizes, or back-to-back hardware store runs to get more wood. We have a total of three kitchen cabinets and five overhead cabinets in our build, and I absolutely love the way they turned out.
Plumbing
When I thought about the most daunting part of my build, plumbing almost always came to mind. I knew absolutely nothing about the skill, and was always the person who relied on calling a maintenance man to fix a clogged sink. After putting off installing plumbing into my van’s kitchen for weeks, I finally took to social media to ask others with more experience what my best options were.
Instead of buying a brand new water pump, which would have run be a few hundred dollars, I opted for a 5-gallon bucket and a USB siphon that I switch on to suck water out of my fresh water gallon and through my faucet. The total of this alternative only ran me about $25 and I have no complaints! I can easily wash a sink-full of dishes, water my plants, or even wash my hair without breaking the bank or installing a complicated plumbing set-up!
Bedroom
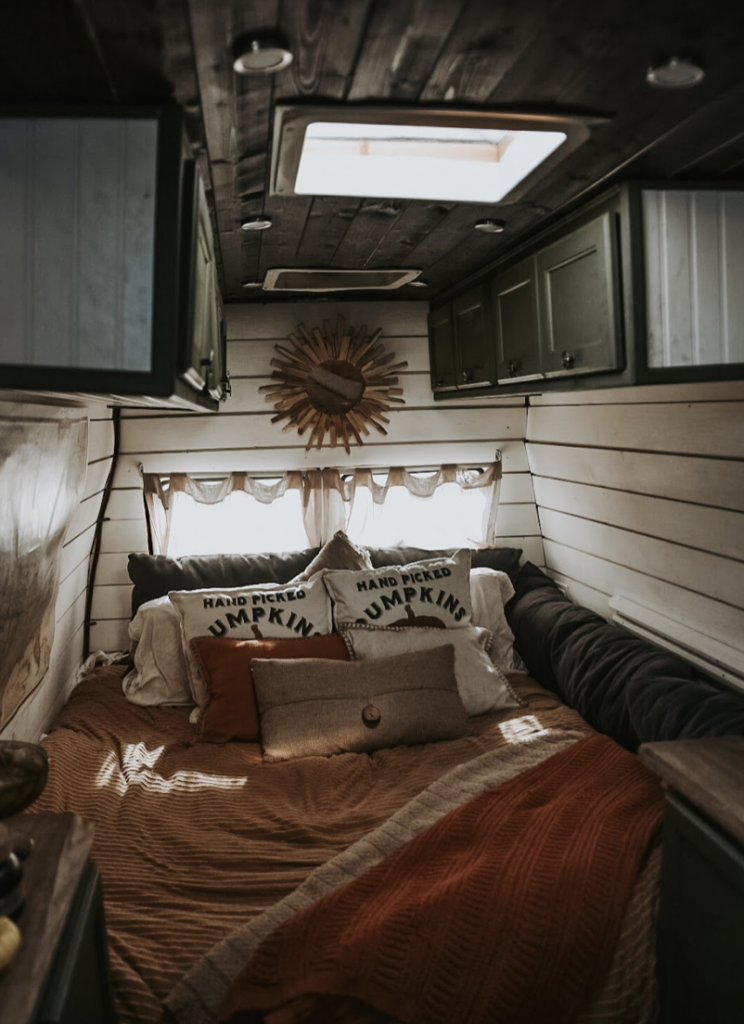
In our apartment, I absolutely loved our big comfy bed and deep L-shaped sectional, and I knew I didn’t want to give up that comfort in my transition to living out of my van. The only thing stopping me was the cost of getting a mattress, cutting it up, and custom upholstering it to make couch cushions that looked great while also being comfortable.
I decided to buy a cheap foam mattress online through a secondhand site and cut it into sections using a box cutter to save some money on the overall cost. After weeks of looking at upholstery options online, I found pre-made stretchable couch covers on Amazon that came in hundreds of collars and were a fraction of the cost at some of the custom options I have heard of beforehand! Now, I’m able to mimic that same memory foam bed and L-shaped couch that I had in my apartment, in my home on wheels.
Repurposing Things You Own
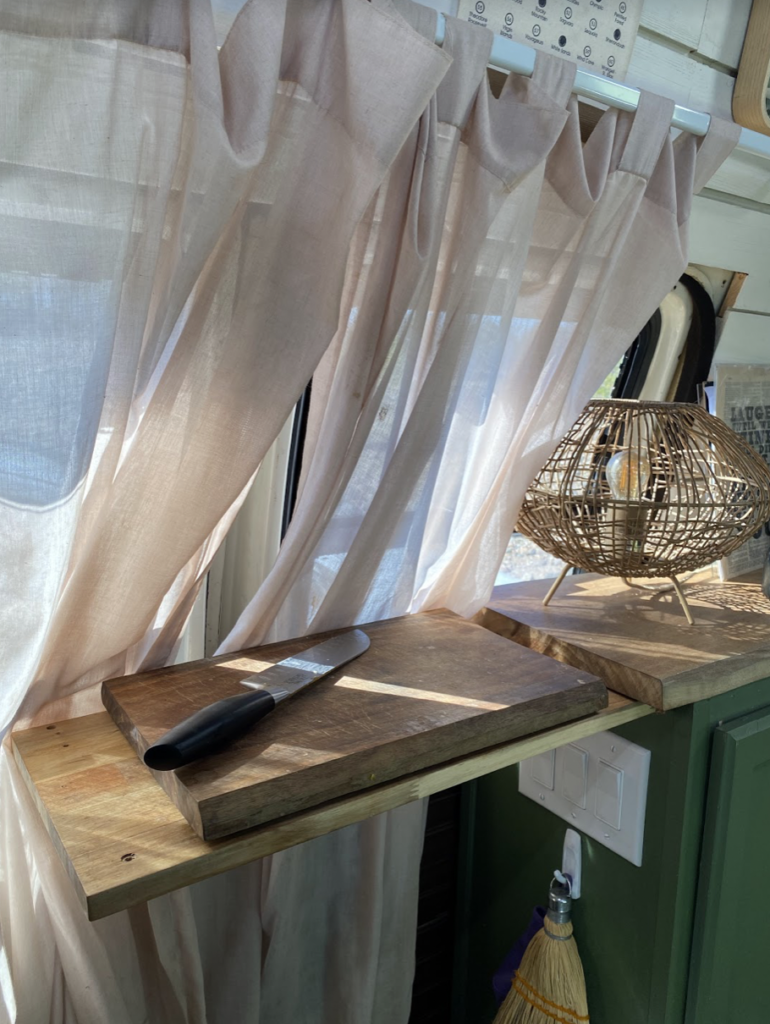
One of my biggest tips to take away from this article is to look around at things you already own and see how it can fit into your van build. I was able to use a handful of things from my apartment, and turn them into really practical additions in my van. For example, I took the couch cushions from my living room and I now use them as my main pillows in my van. I also cut up an old floating shelf that I had used to hold picture frames, and now it is a pull-out cutting board in my van kitchen. I took the live edge from my counter tops, sawed it off, polished it, and now it acts as a spice rack in my build.
Buying all new things for your new home on wheels can be a super exctiing part of the process, but using some of these tips to cut corners and costs can help you save up for the big day when you finally get your home on the road.

Shay Edwards
Author