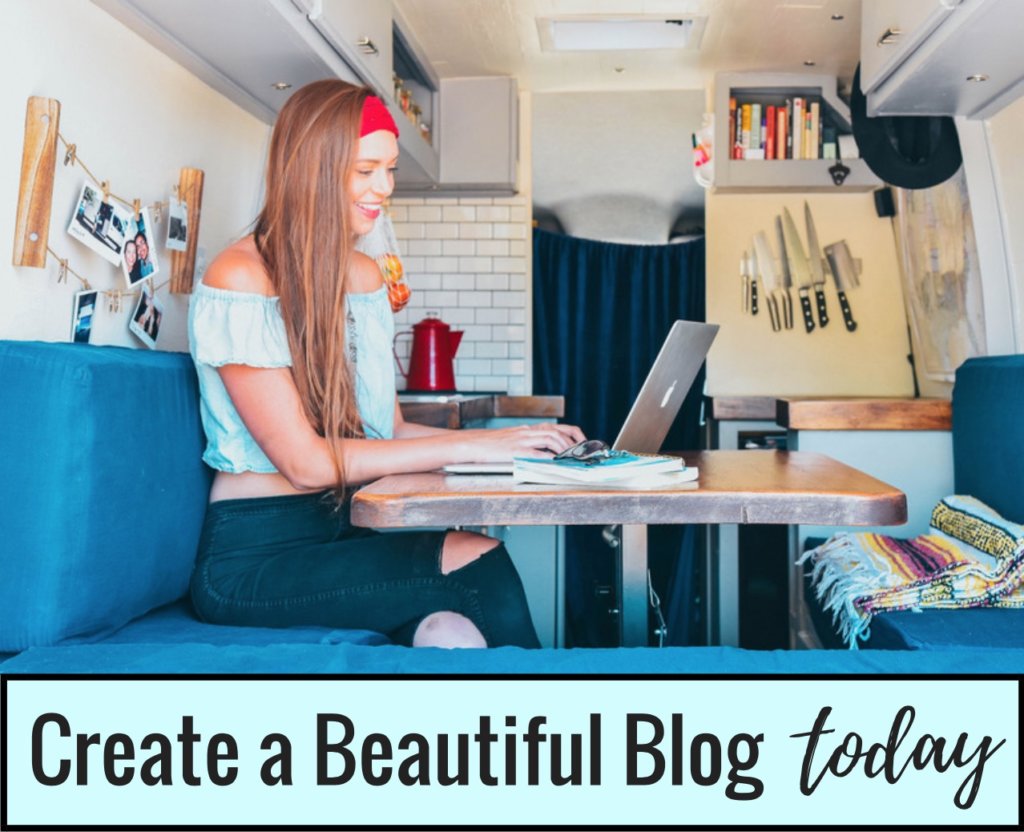
It wasn’t long ago that I started this website and had literally no idea what I was doing. I certainly never thought it would be possible to earn an actual income from this thing! But over time, I have learned so much and have realized the impact it actually can have on others! You do not to be tech savvy or know how to code. I’m not and I definitely can’t! So please do not be intimidated by this process simply because you are new to it. Starting this blog was one of the best decisions I have ever made and I want to help you get there too.
I will walk you through every single step of setting up website and then you can spend some time playing around and seeing what you like, what you want to write about, etc. This only takes about an hour and you will have a live website to showcase to others and begin all of your blogging dreams! This may seem rather technical but I assure you that it is very easy and will not be difficult if you simply take it step by step with me.
Stop telling yourself that you will start this later and get it done today! You don’t have to launch a massive blog or have an audience already to get started. I was equally as hesitant as you may be and I just forced myself to finally take the leap… and it was so incredibly worth it. It does not take years and years to earn money through blogging. But it does take hard work. Thankfully, that hard work doesn’t even need to start today! This is the easy part!
This part of the process is super easy so just start here. There's only a few steps and you'll have an actual website up and running!
QUICK NOTE BEFORE GETTING STARTED
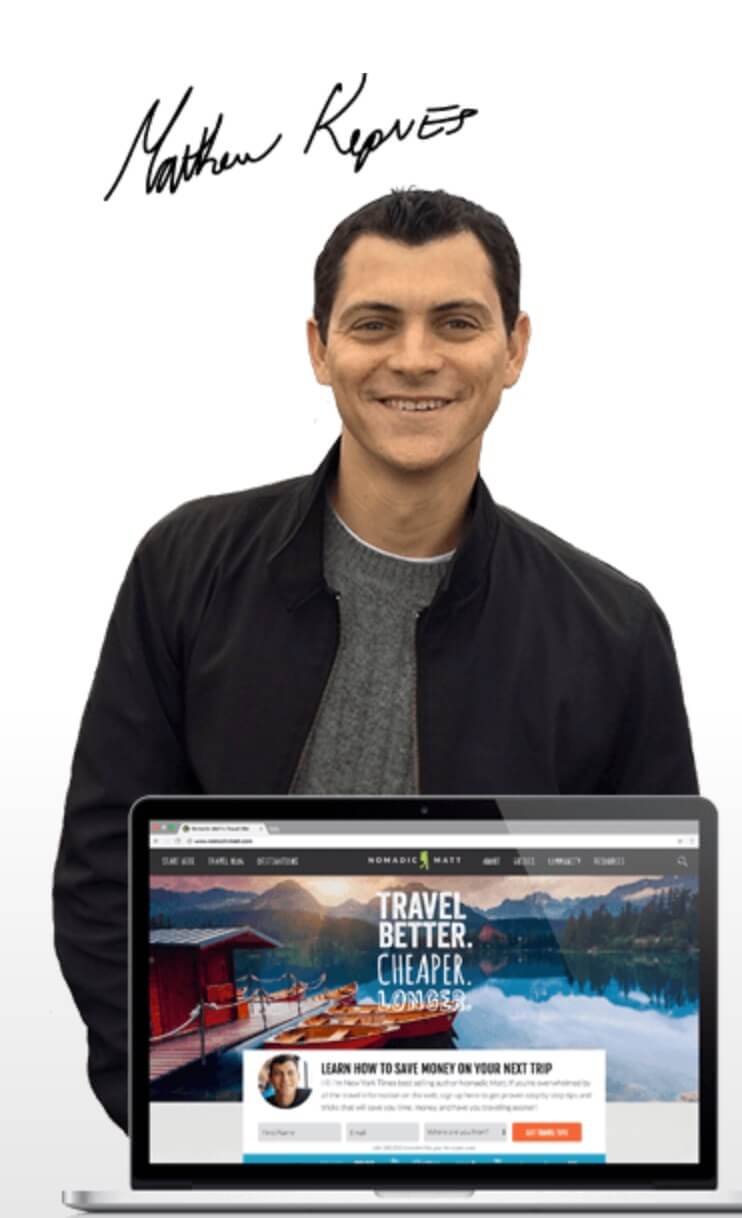
If you already have a website and just want to learn how to make money on it, I highly recommend Nomadic Matt’s program “Business of Blogging” course. Matt has 1+ million readers on his travel blog and has been featured in several major publications. He walks you through everything you need to know about blogging and turning it into a successful business.
I know the objective is to make money, but I truly never would’ve been able to figure out how to earn a full- time income through this blog without his course!
Note: Some of the links on this page are referral links. To no additional cost to you, I make commission from the sales made using my link. This is one way of supporting my website and how I’m able to monetize this lifestyle! If you have further questions about this, please don’t hesitate to ask.
Okay, Now let's do this...
STEP 1: Choose a domain name
You can’t have a website without a domain. This is basically the name of your entire website. What do you want your website to be called? I don’t recommend using symbols or numbers. Try to stick to a catchy, non- cliché phrase or tagline that you like and hasn’t already been taken. You want this to be original to you and memorable to your audience.
STEP 2: Hosting
I use Bluehost for this website because they have a great reputation, a very user- friendly interface, and it’s super inexpensive! I recommend this over other hosting because Bluehost can handle really large amounts of traffic so if/when your website grows, you won’t have to change hosting platforms. They offer a free domain which is awesome and have a money- back guarantee in case you change your mind for any reason!
Click below to get started and I'll continue to walk you through.
STEP 3: Choose Your Plan
You should see something such as the following:
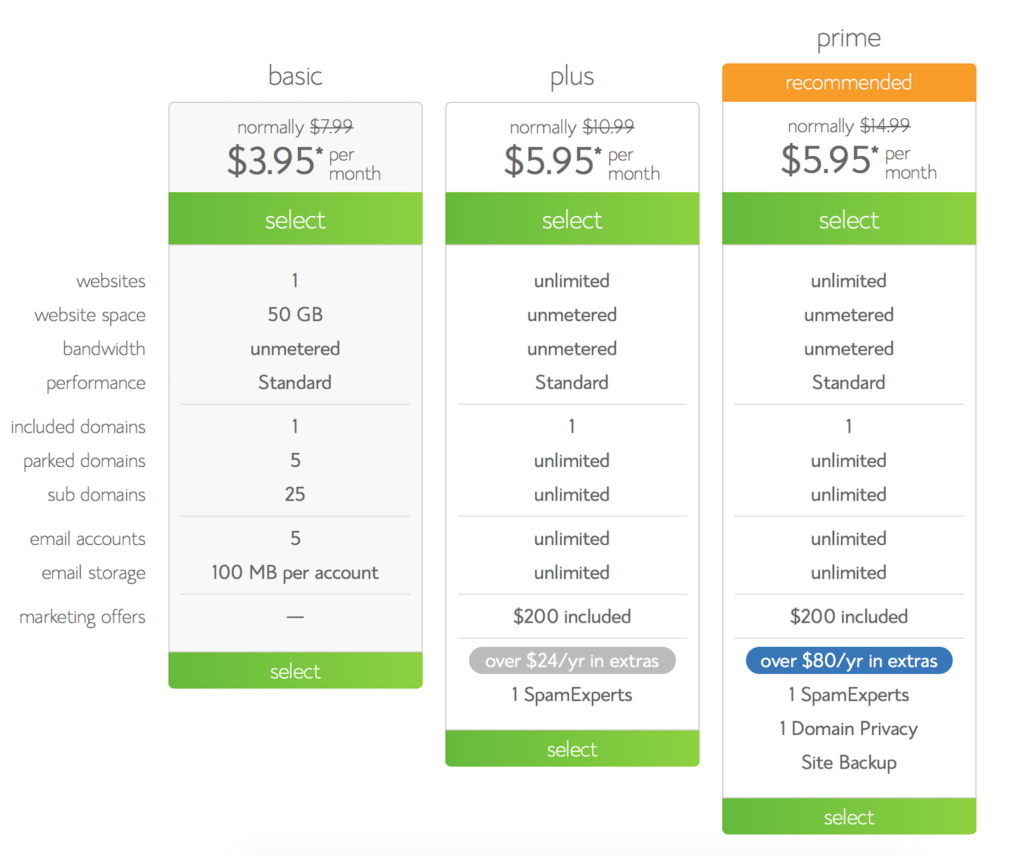
These are your three options. I chose to go straight to the “prime” option because the prices are so low and it includes everything I could potentially need. However, this is not necessary and you can definitely get started with the basic option. Choose whichever fits you and your budget best.
STEP 4: Enter Domain and Personal Info
Immediately after choosing your plan, it will take you to a domain page where you fill in the domain that you came up with earlier.
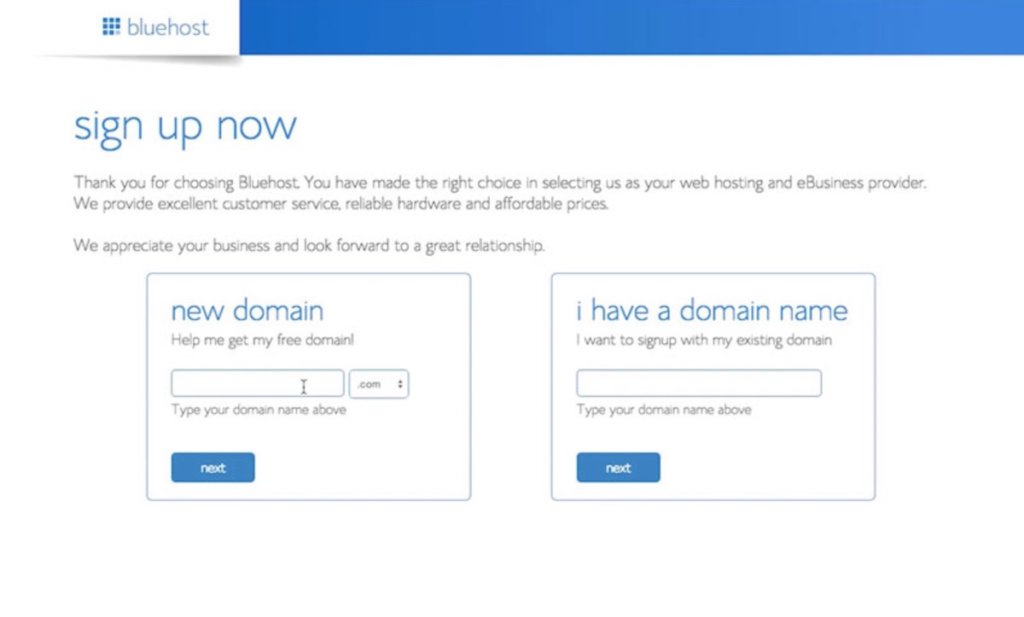
Before entering, make sure this is what you want your website to be called. It is not easy to change this down the line. After you’ve entered the domain, you will fill out some personal information standard to making any other purchase. Once this is complete, you’ll put in the standard payment info as well.
STEP 5: Fill in Package/Plan Info
Bluehost will ask you again which plan you would like to select. You will simply choose the desired package and make sure “domain privacy” is added. If you went with a higher plan, it should be included. If you went with the basic plan, you’ll want to add this for .99 cents a month. This keeps all of your contact info private. I didn’t turn this on right away and was contacted by dozens of people trying to sell me stuff. It’s worth the extra dollar!
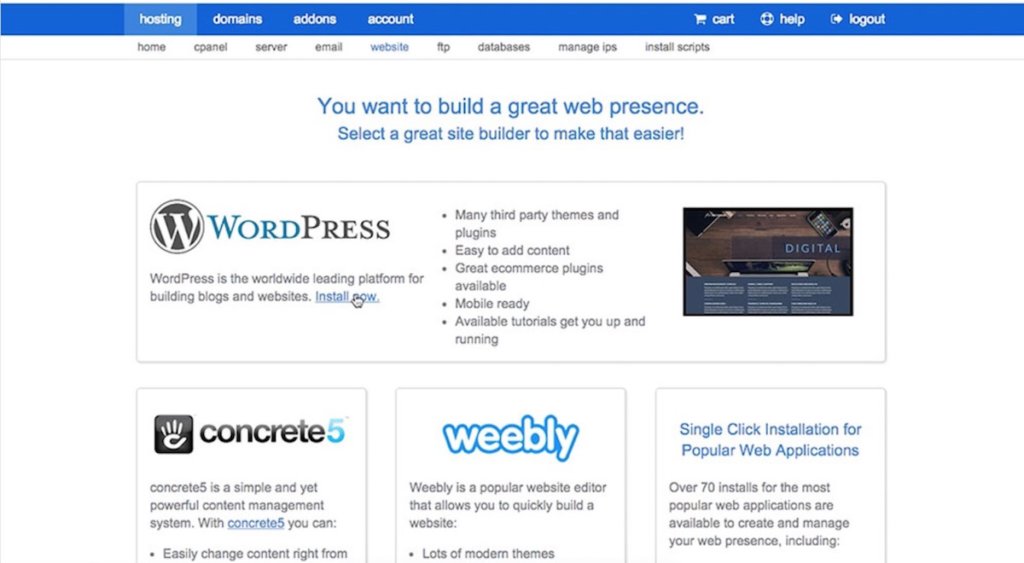
STEP 6: Install WordPress
First off, don’t think “install” means anything difficult. Bluehost will walk you through very easily. Before this step, you likely get a confirmation email and need to take a second to confirm before proceeding. Afterwards, you’ll need to install WordPress. I really don’t recommend going with any other platform to run your blog. WordPress is by far the most recognized and compatible with just about anything you will need down the line. This is definitely the most professional route to take, especially if you plan to monetize your site.
a) Log into Bluehost, go to "Website" under "hosting".
b) Click "Install Now" with WordPress
After this, you will quickly hit “check domain”, and then read and accept the terms and conditions box for WordPress.
step 7: Choose Your First Theme
A theme is basically what will allow you to design your website and determines to some degree what it will look like. Most themes allow flexibility so you can change aspects such as color, fonts, content, etc. But the overall layout of your site will be determined by the theme you choose. There are quite a few companies that create themes and you can certainly find ones for free. However if you plan to make money on the blog, I recommend finding one you love and paying for a little bit for it.
There is nothing wrong with a free theme at first, but they will be much more limiting as you learn and want to change different aspects of the blog. If you do want a free theme, I recommend just looking it up on Google and finding one you like. WordPress also does come with a free one so you can start with that as well. I started with Station Seven and purchased the “Monstera” theme for about $70. I couldn’t recommend a company more than these guys as they are a smaller brand and work wonderfully with their clients. I have had questions as I learn and they answer every email and assist me any time I need help.
Step 8: Install Your Theme
Installing your theme is super easy and we are in the home stretch! First, just login to your new WordPress account! It will like the image below:
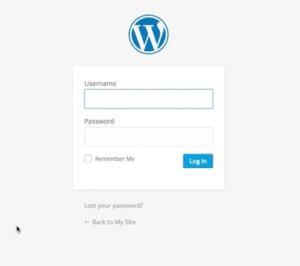
Now, look at the tool bar on the left and find “Appearance” > “Themes”. Then click the “Install Themes” or “Add New” tab, followed by the “Upload” link.
If you did not purchase a theme, WordPress does come with the free one so you can simply choose this to be your first theme.
Then, you’ll click “Choose File,” select your zip file which you downloaded when you purchased you purchased your theme and press “Install Now.” And lastly, “Activate”!
Step 9: WordPress Plugins
I usually compare plugins to apps on your smart phone. When you buy your phone, it comes with various basics that allow you to a few things. But in order to access all of the really fun stuff, you download apps that allow you to do so. This is exactly what plugins allow you to do on your WordPress. They simply add customization options and/or important information (for free) that your theme does not already include. To add a plugin, simply go to “Plugins” > “Add New” on your dashboard. These are the plugins that I find most useful:
Elementor: This is a page building plugin that allows so many customization options when designing your posts and pages. It allows you to design in ways that your theme most likely won’t without it.
Google Analytics: You’ll definitely want to download this plugin because it will allow you to track all of your traffic. It’s important to see what posts do well, how long people are on your site, etc. This may not seem important at first but you will definitely want it as your audience grows.
Yoast SEO: It’s really important to work on SEO (search engine optimization) for your site. This will allow you to optimize your website for Google allowing for much more traffic. It will teach you about keywords, titles, etc. Do not live and die based off what this says. It doesn’t need to be perfect but it’s a good tool.
Compress JPEG & PNG images: My site was running really slow awhile ago and I couldn’t figure out why. It was because I hadn’t compressed any of my photos. This plugin corrected it right away. You’ll need to download this so that it compresses each photo which doesn’t change the actual image size but makes the file much smaller.
Step 10: Write Your First Post and Play with Your Design
Okay, all of the technical stuff is finally over! Your website is entirely set up. The only thing you have to do now is get to writing! You can go to “Posts” > “Add New” and begin writing your first post. If I have any personal advice, it’s to write what you are truly passionate about and really run with that. Allow your audience to learn who you are while still providing them with information and value of some kind.
You’ll learn over time all the different design elements you can add and adjust within your theme and with the help of plugins. 99% of the time what you are want to do with the design is completely possible with the use of something. You just have to do a little problem solving to figure it out.
Now, it’s up to you how far you want to take your new blog! Having your own website is such an amazing way to express yourself and help others all at the same time. It gives you a voice on any subject you want to talk about and build an audience passionate about the same thing!
I want to mention again the course that I took with Nomadic Matt. He has built an audience of 1+ million readers and I genuinely owe it to his course that I’m able to make a living off of this website. I really recommend investing the money if you want to learn all about the Business of Blogging.
If you have any further questions, please go to the contact page and ask! I’m always happy to answer and chat with you.
With love as always,
Sydney Ferbrache
Do you think the course with Nomadic Matt is more focused for travel bloggers or can be applied to any blog? For example, I run a food blog! Thanks!!