There are so many small aspects of the van that may be missed just looking through social media posts. If you are building out a van or will in the future, this is everything that went into my Sprinter van and why I chose what I did. So here is description of every corner and crevice of this amazing little home on wheels! You are not alone in the process of building. It can be a super stressful time and the community is here to support you. If you want exact dimensions & measurements of my current van, you can check them out here as well!
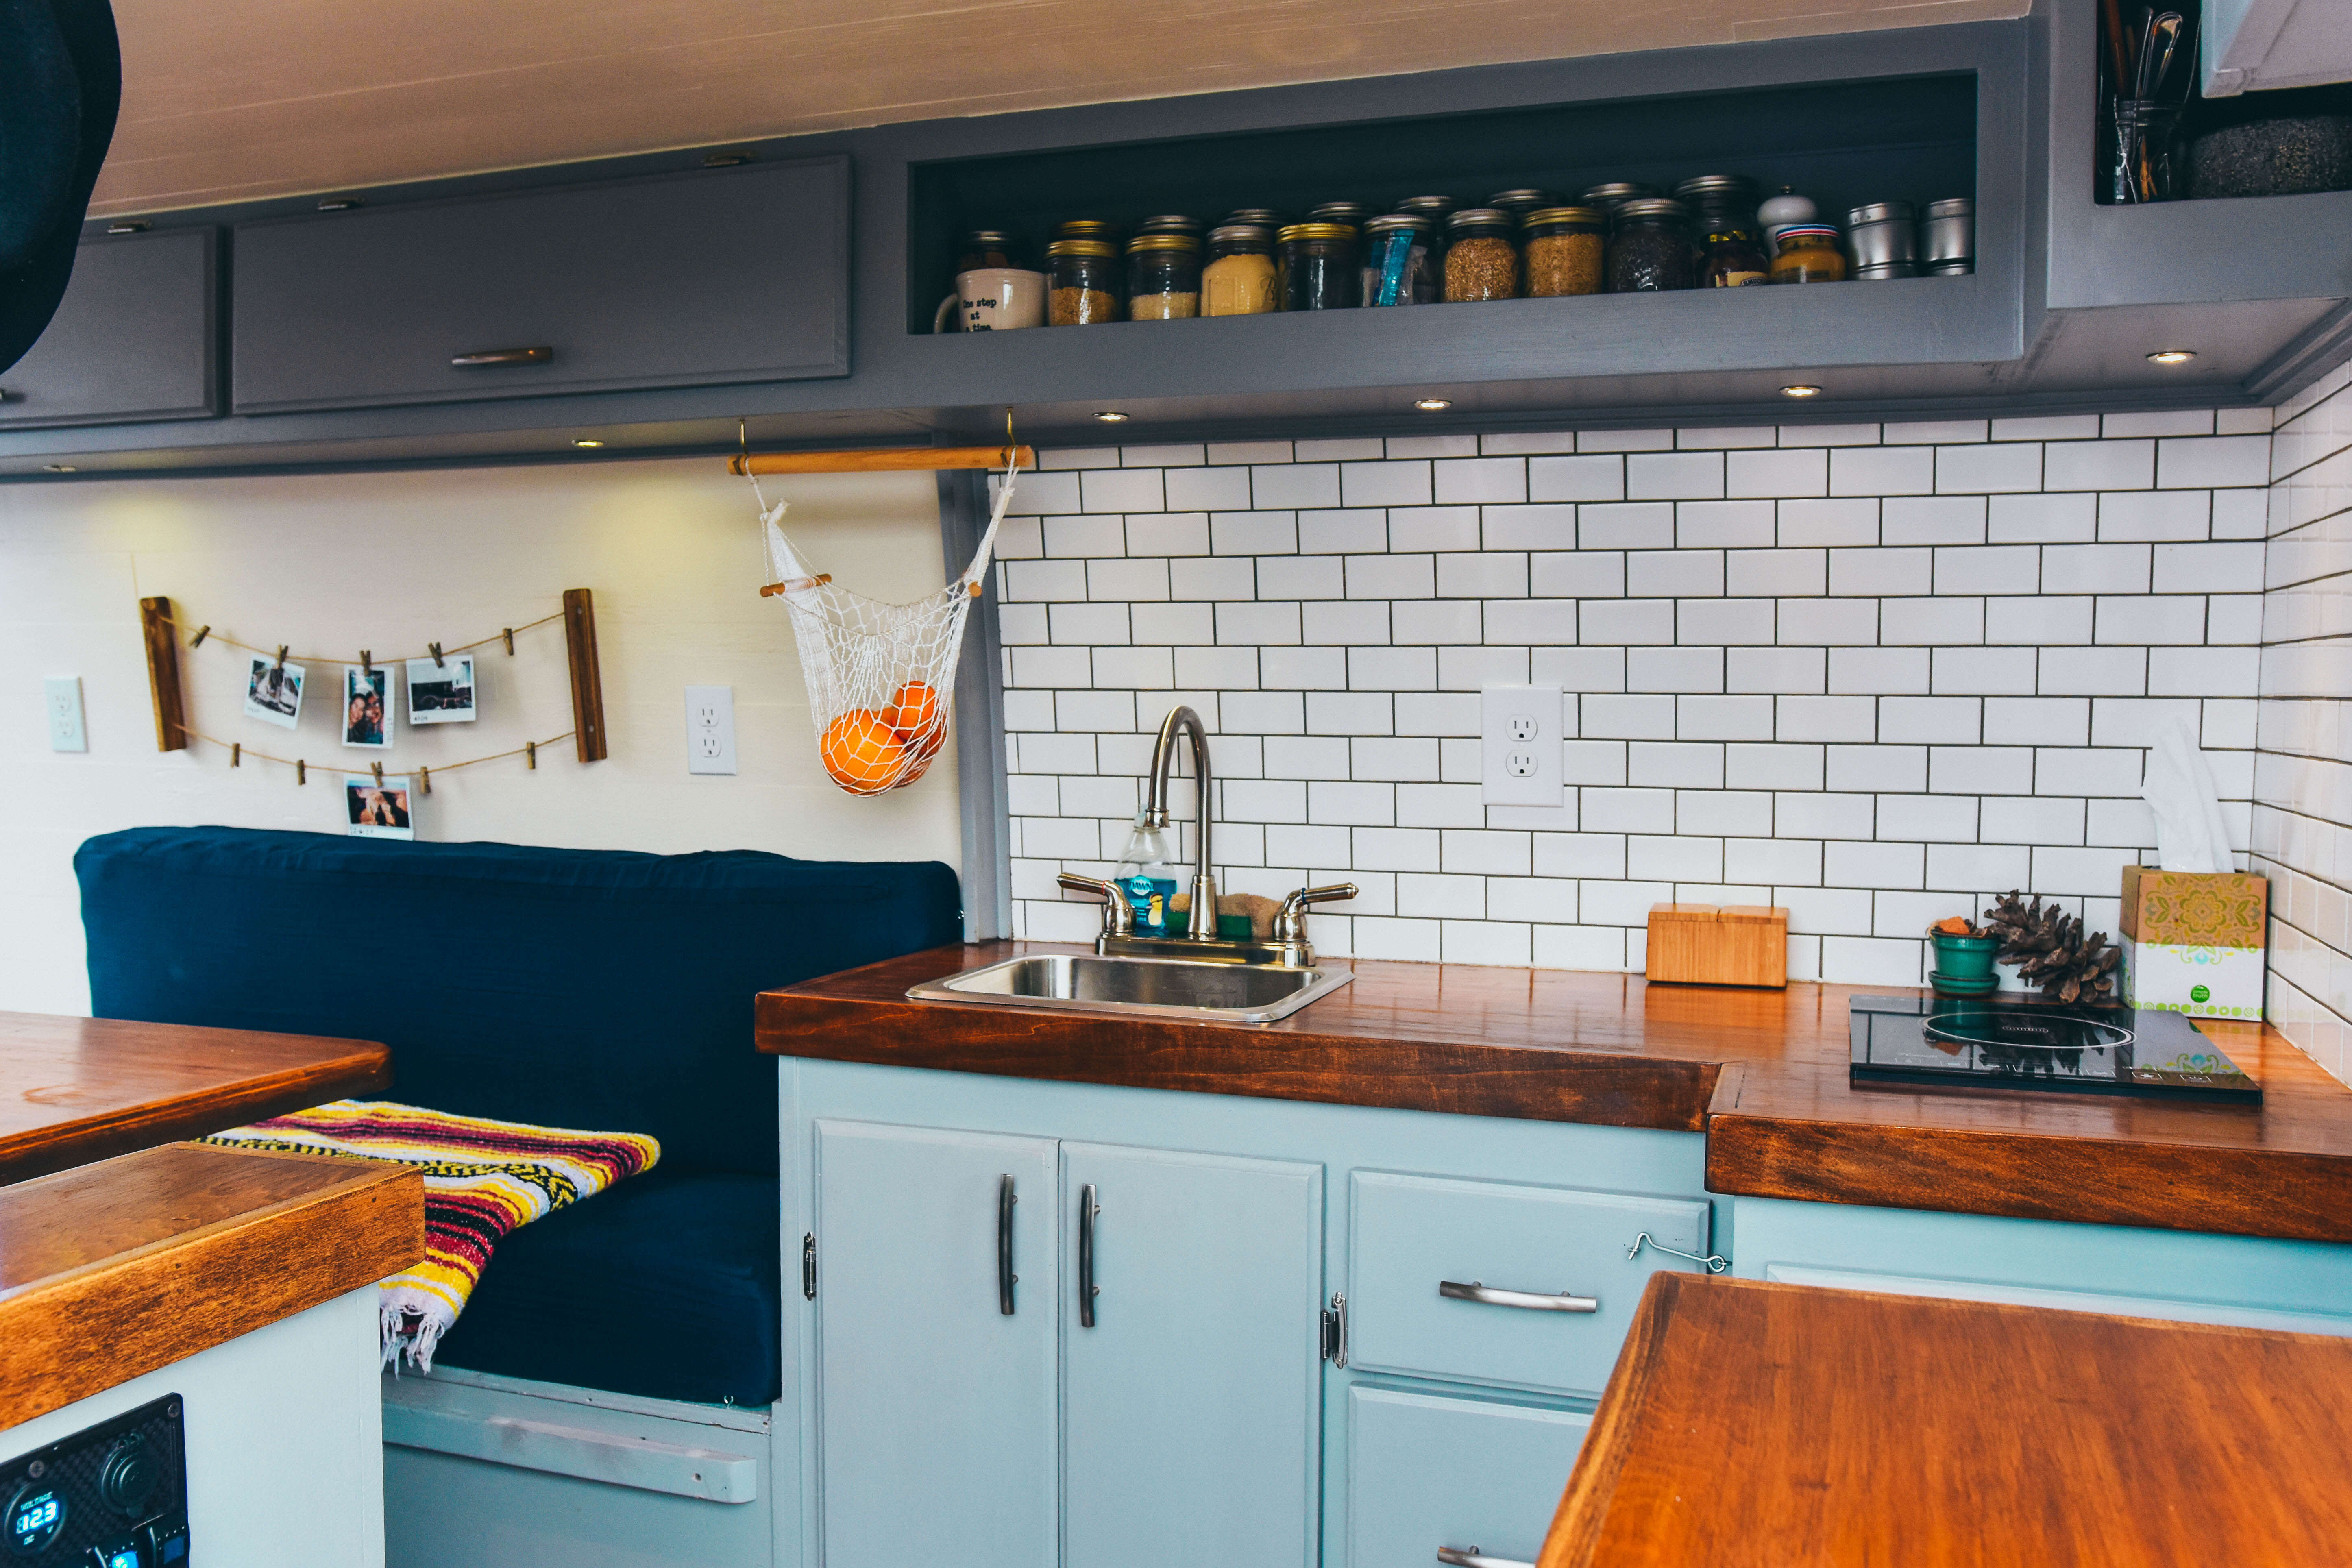
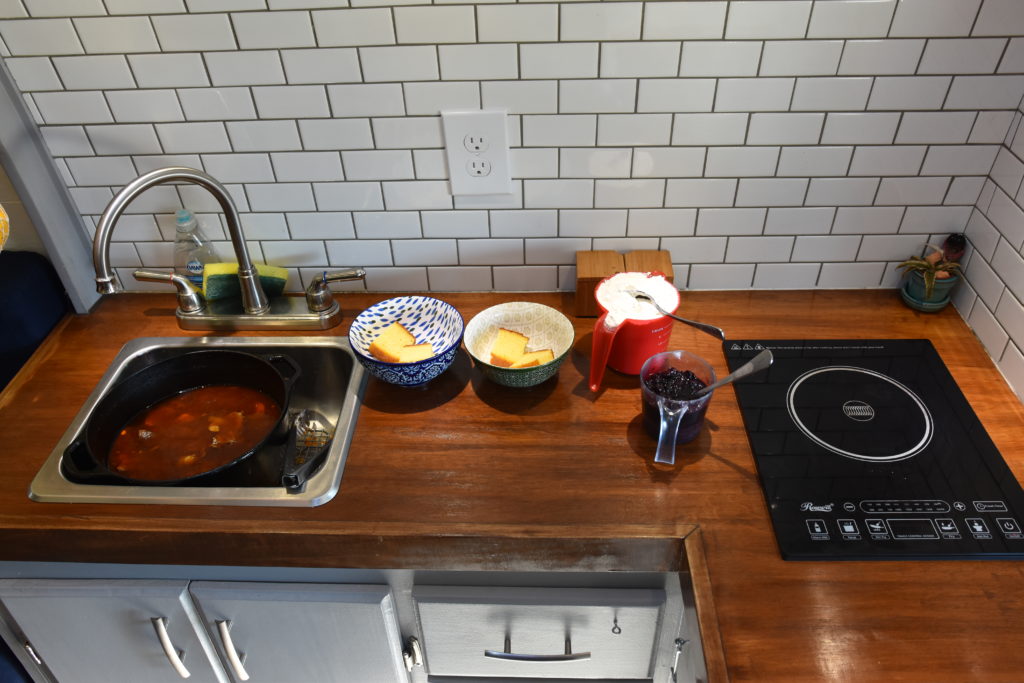
Induction and Fridge: I chose to go with an induction stove versus propane because prefer not having any propane in the van. It’s super common and you definitely don’t need to worry if you do plan on having propane. But it was a personal preference for me. The induction stove basically works like a standard electric stove at home which is awesome because it allows you to not feel like you’re constantly camping and firing the propane. You simply press the buttons on the flat screen and it heats up (only if there is a pot or pan on it). It also just looks nice and sleek in the counter!
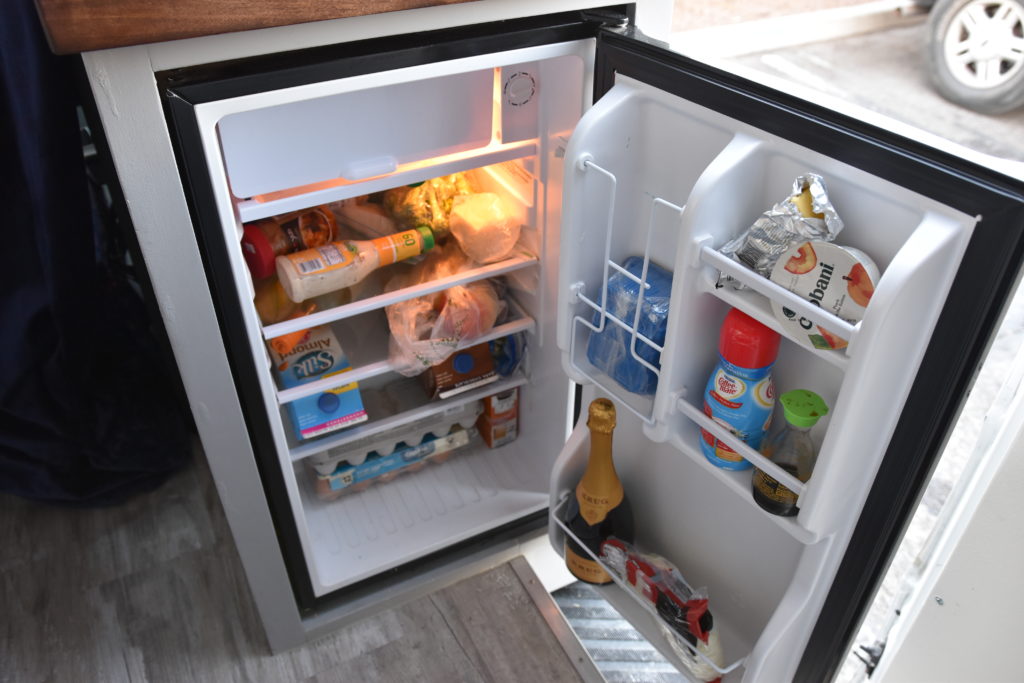
I also went with the a standard mini fridge versus the more commonly seen 12V fridge because of budget. We weren’t too sure how the fridge would do so we tried it and it worked perfect! Runs 24/7 and there has never been any problems with it not working or shutting off. The placement of the fridge has been amazing because it really allowed me to maximize the space in the van, and utilize the extra room behind the passenger seat while still allowing plenty of space to get in and out of the van with the step.
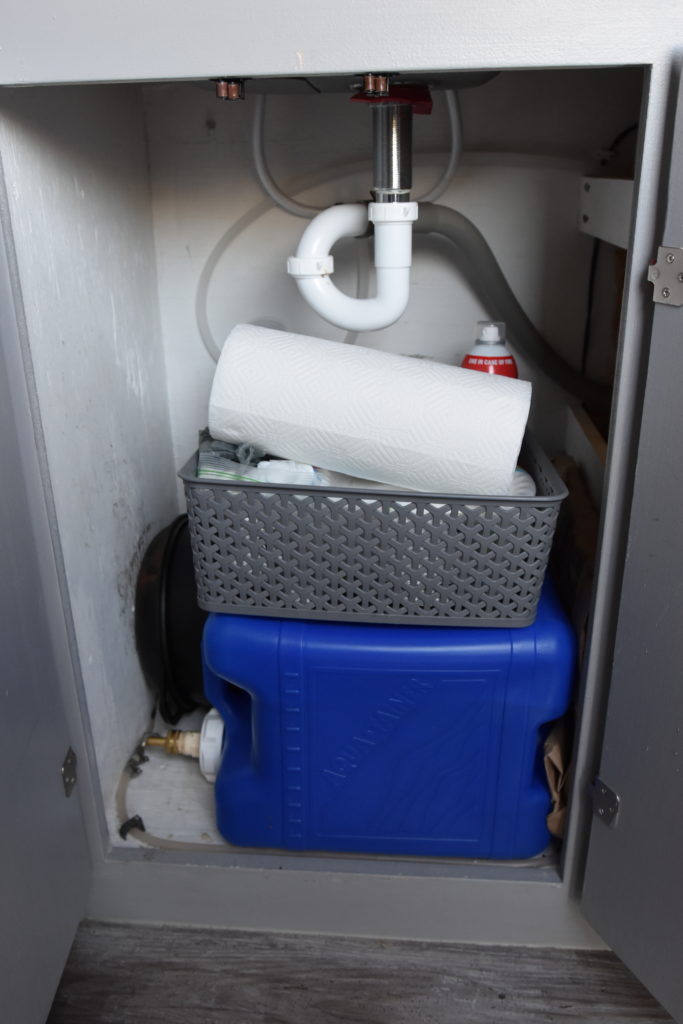
Sink and Faucet: The sink and faucet are pretty standard. We went with a smaller sink and a pretty long faucet with two handles. Both can be foundin thevan build shop. We have a12V pump that allows us to turn on the water and it just runs like any regular sink.
Fresh/Waste Water Tank: Thefresh water tanklives under the sink. I store pots and pans behind it as well as a light basket of random kitchen stuff on top. The waste tank is a different story as it lives behind our electrical setup (see below).
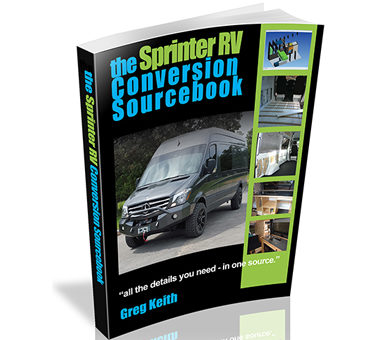
If you are interested in building out a Sprinter or will be in the future, this book walks you through every step of building out a Sprinter van. This is the BEST Sprinter van build guide I have come across.
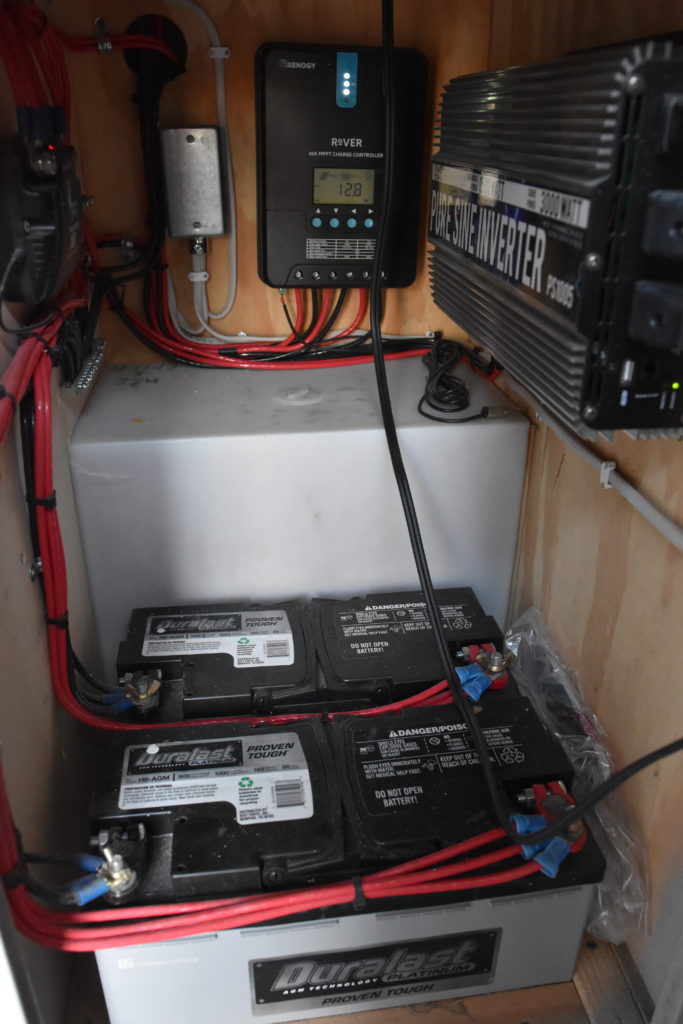
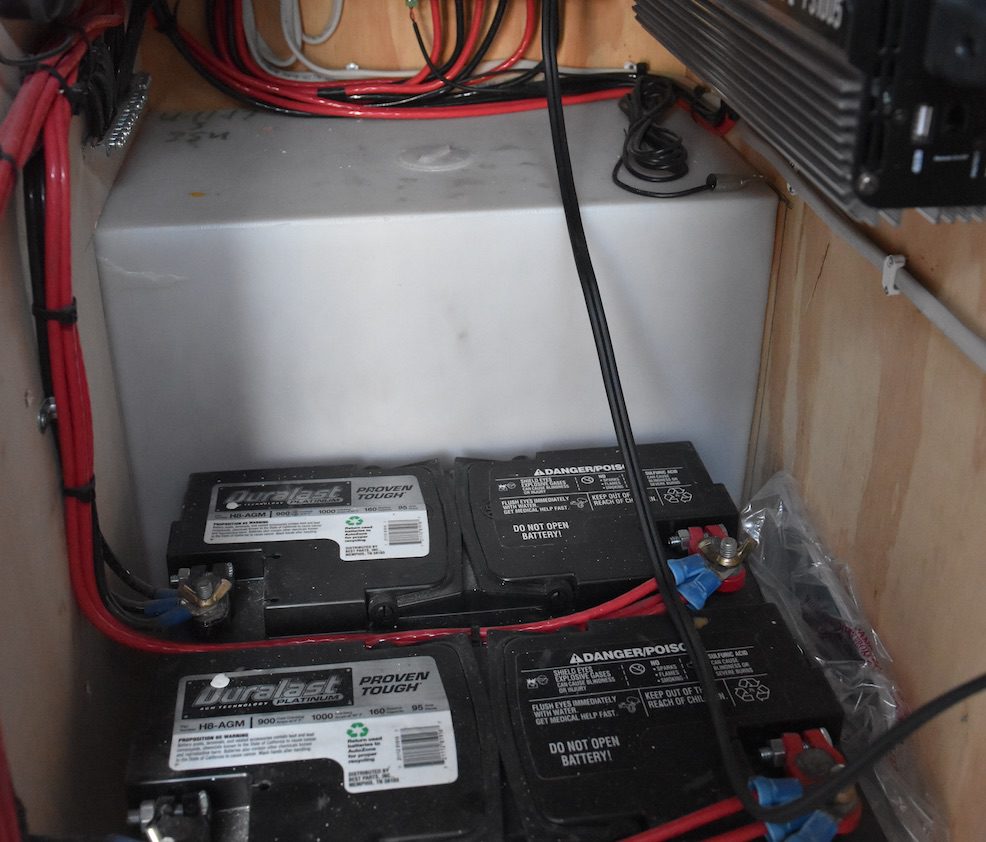
The entire electrical setup lives in a cabinet under the stove which I haven’t needed to touch or really open since I left!
Batteries: I got two 95 ah marine batteries versus the standard 30-35 amp. The full setup can be found in the van build shop. These things have never caused an issue and allow me to have so much power for pretty much anything we could need. I would recommend getting these batteries over the smaller ones.
Inverter: I wish I could give a detailed reason as to why I got theinverterthat I did but really, I just bought what I thought was right and it worked. Essentially, our fridge, stove, and outlets are 110V while the lights, water, and fan are 12V. So having the inverter allows me to run everything together. It’s 1500Watt continuous and 3000Watt Surge.
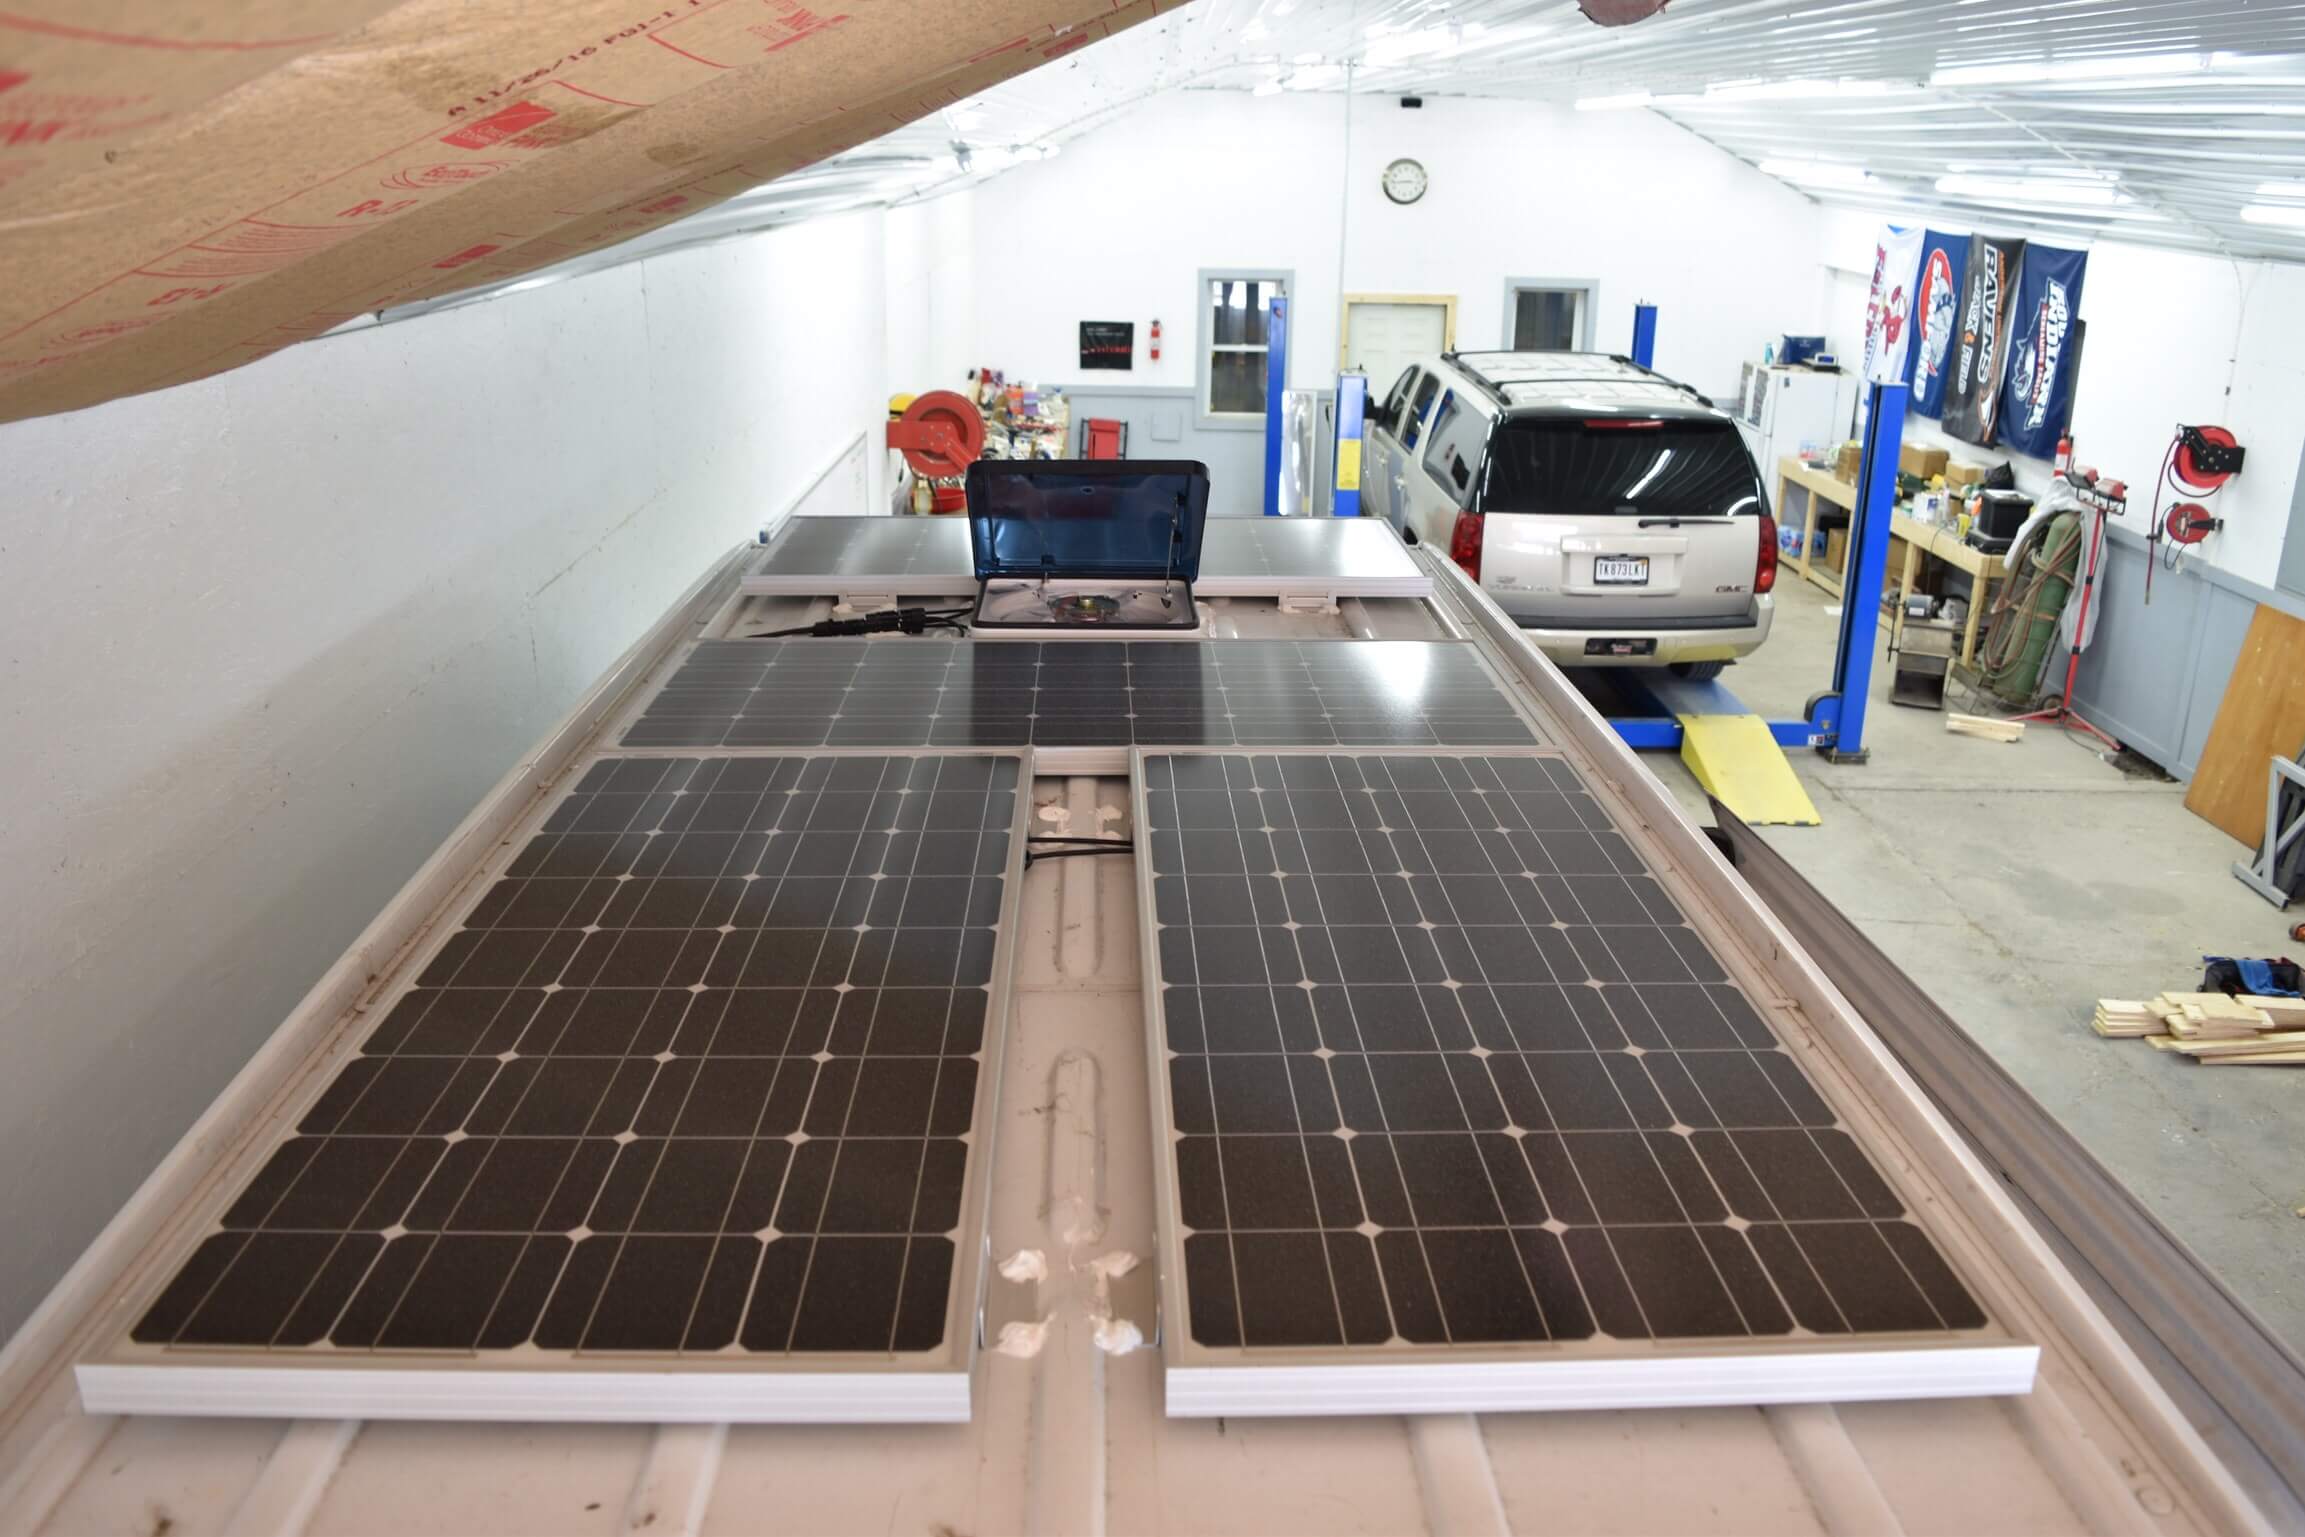
Solar panels: I was pretty reluctant to buy a super expensive roof rack so the builders found a way to just do a little weather stripping along with super high end silicone caulk. The actual panels are 100Watts each (x4) and I just went the easier route and purchased the 400 Watt Renogy Kit off of Amazon. This comes with basically everything you’ll need.
Waste Tank: The waste (grey) tank is that white box in the back. It goes behind the electrical and empties outside the van underneath. There’s a spigot under the van that when turned on, drains the tank. When closed, it just fills up the tank until we get somewhere to drain.
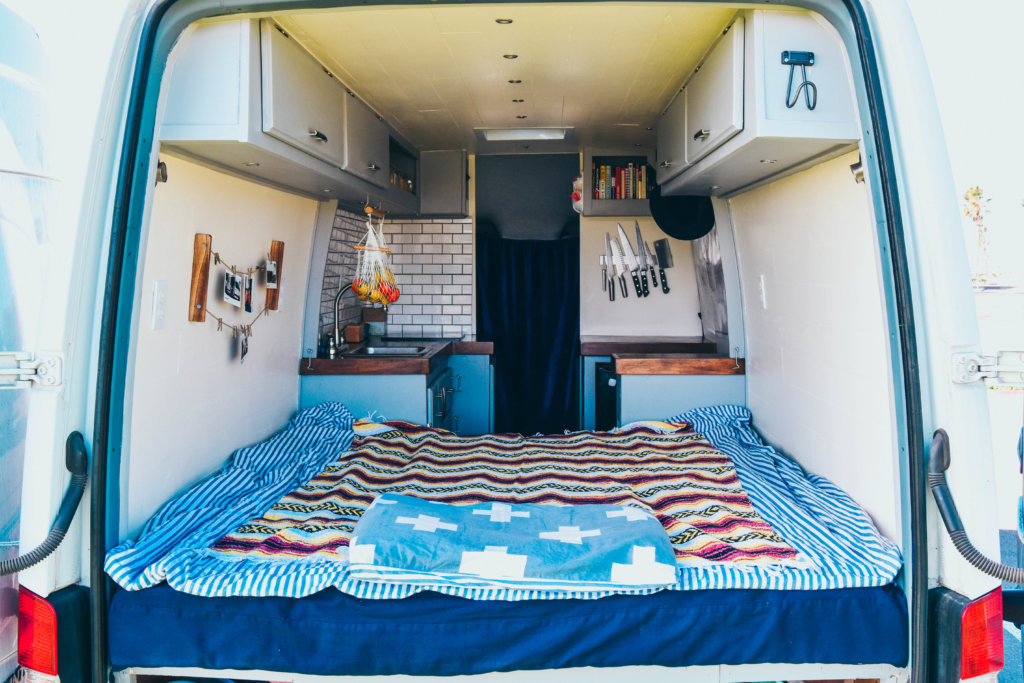
BEDROOM
Bed: I bought a 6 in.memory foam mattressfrom Amazon and the cushion covers are from a lovely woman on Etsy. I just cut up our mattress to fit the bed which I ended up using the entire thing. So I have a complete queen size bed. The 6 in. has been incredible because it’s super thick and feels like a freakin’ cloud.
Bench/Overhead Storage: Most of the storage is in the benches and overhead cabinets. The back bench is used as a “garage” with outdoor gear. All clothes and random personal things go in the side benches, while all toiletries and things used everyday go in the upper cabinets.
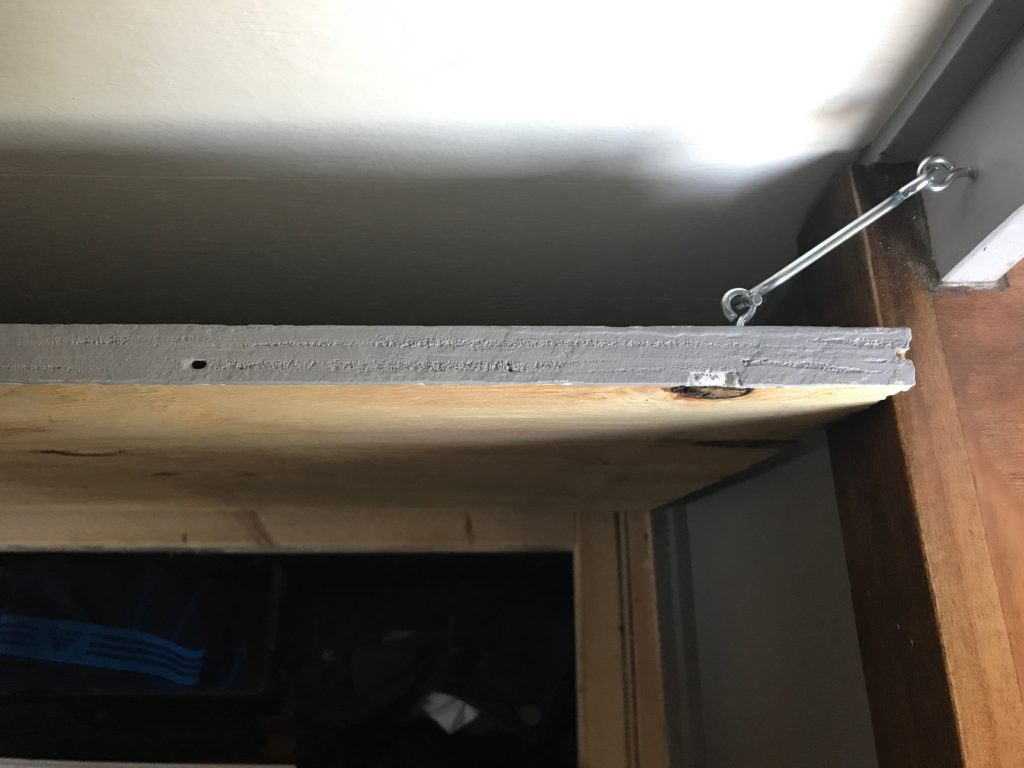
The bench doors stay open with these gate hooks(image shows door open) that I hook while I am digging for whatever I need. They were like $3 dollar at Walmart or Amazon.
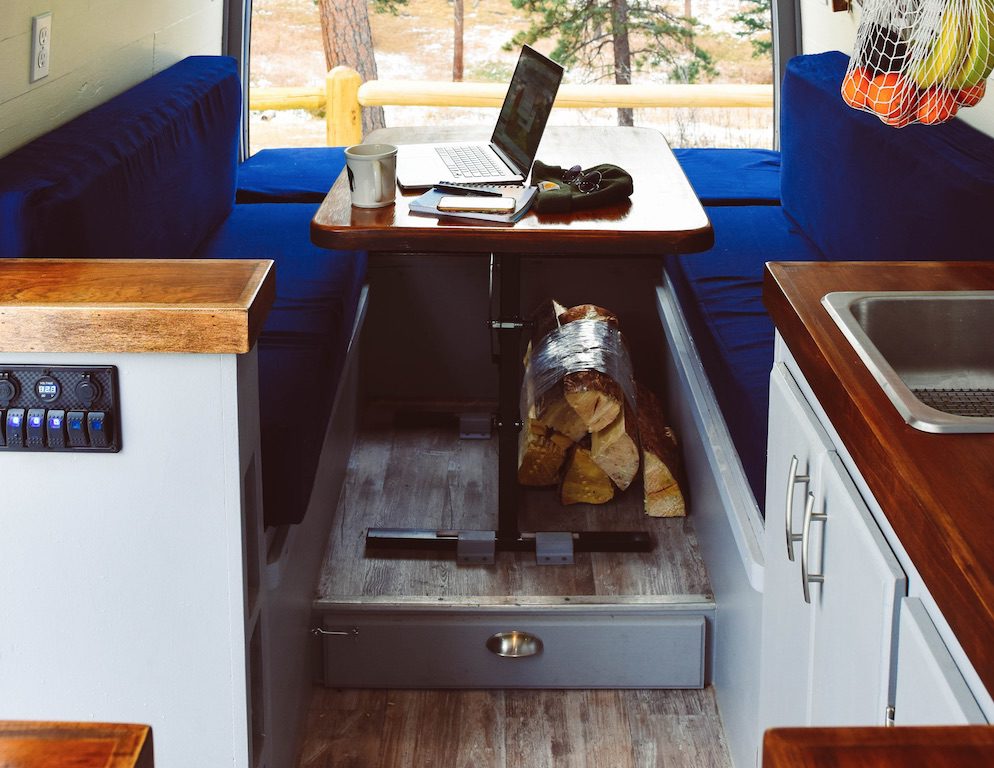
Floor Sliding Drawer: I was pretty set on trying to find every ounce of storage possible (as most people are). So the guys installed a 6 in. drawer that only belongs in the middle of the benches. It holds all of the first- aid stuff and a bunch of random things. There is still have plenty of room for your legs while sitting at the table too and I’m about 5’10”. I will say that we installed another gate hook like the ones for the benches in order to keep the drawer from sliding while I drive.
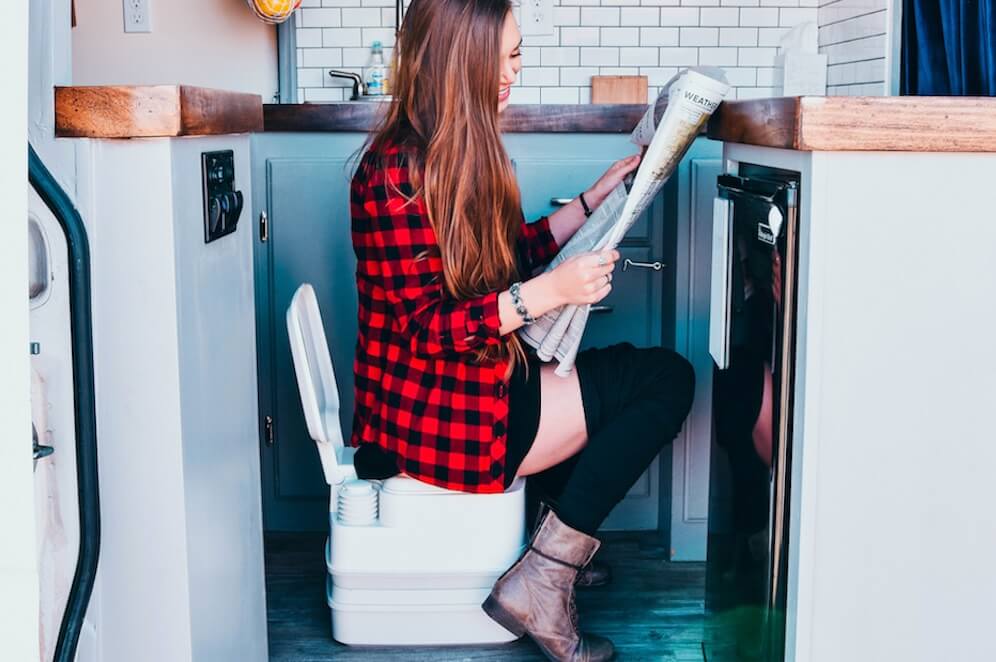
I chose to go inexpensive and do aportable toiletthat I bought for about $120. It gets emptied once or twice a week, and I only use it for numero uno. Everything else gets done at a gas station or business. There’s honestly never been an issue thus far with finding a place when I had to go. But some kind of toilet is essential for nightly use and for campsites that don’t have bathrooms.
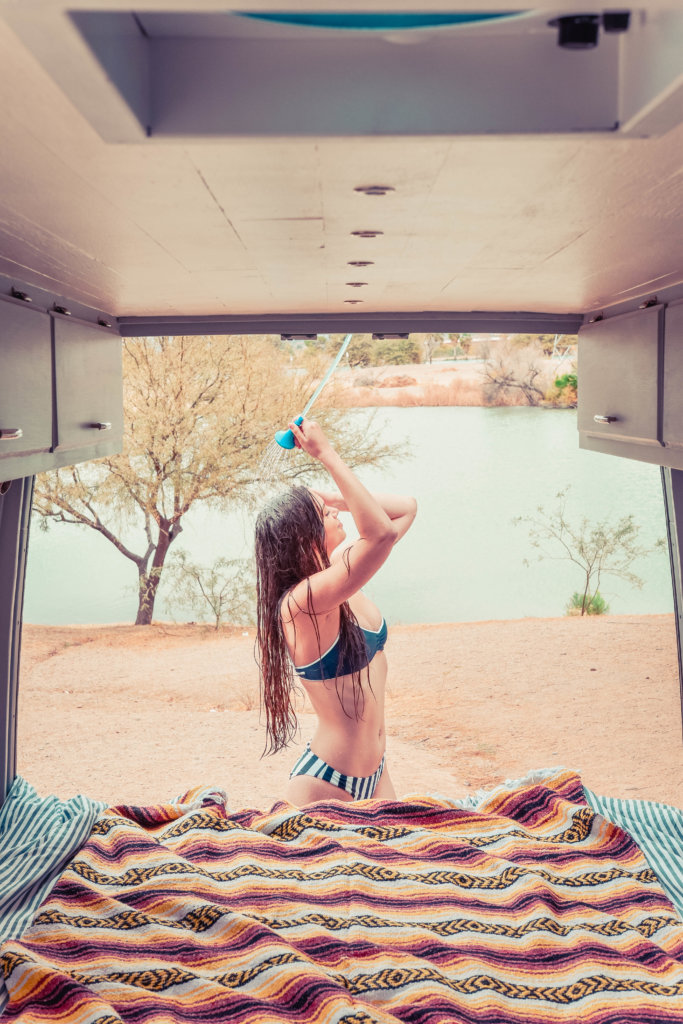
As for showering, getting a cheap gym membership is where it’s at. I also have a solar shower for the days I’m not anywhere near a gym which is super rare. You simply fill it with water, set it in the sun (the material internally heats the water), and then you hang it from the back of the van or a tree and shower. It even has a hose and shower head which I honestly find to be kinda fun.
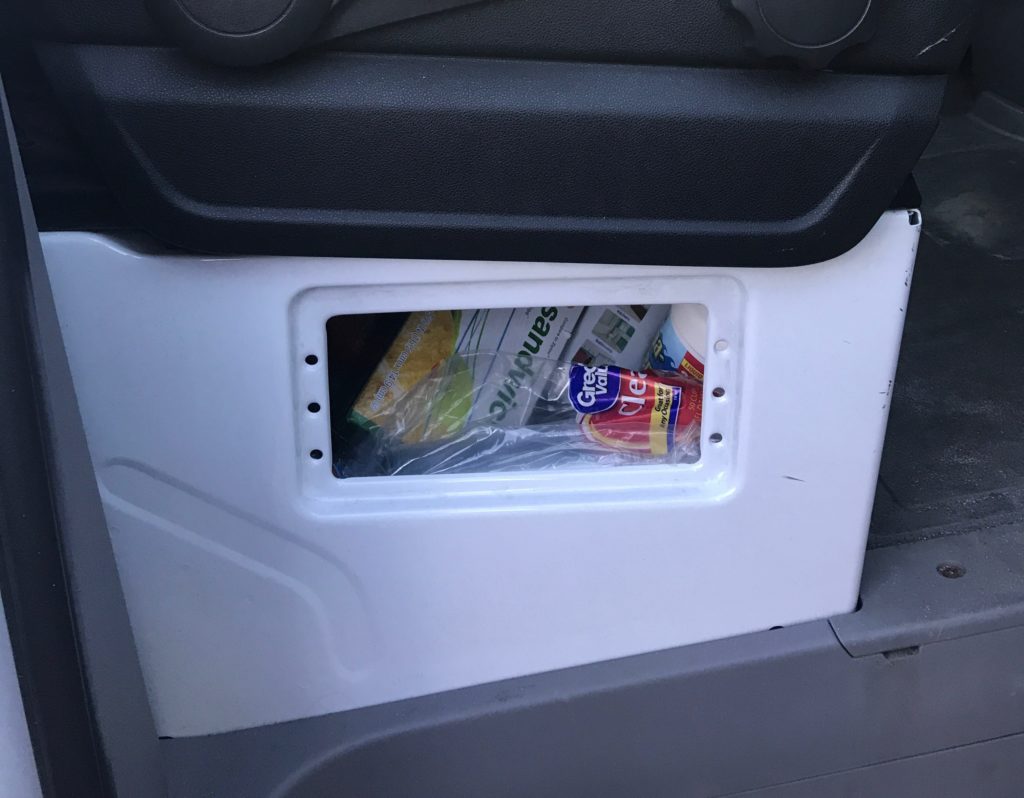
Cleaning Storage: A random thing worth noting is that I also have this huge storage space inside of the passenger seat (all Sprinters have this). It looks like a small opening but it’s the entire underneath of the seat. It’s actually surprisingly deep and holds ALL of the cleaning supplies. This is where I keep extra paper towels, cleaning stuff, wet wipes, etc. It’s actually super useful not to have any of that stuff taking up space in the back of the van. Use all the storage space you can!
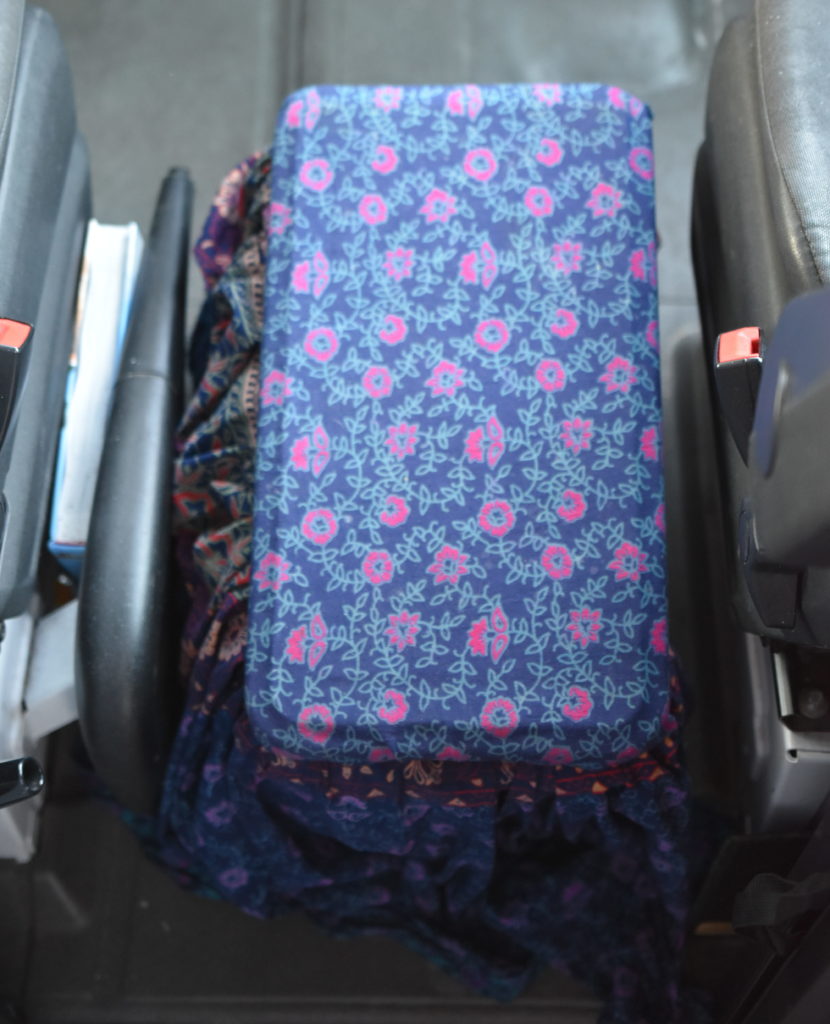
Front Cooler: I ended up getting a cheap cooler (and dressing it up to look a little nicer) to sit in the front between the seats. This is where I throw snacks for driving and kind of turned into the dry storage area for food. It’s just nice to have somewhere to put that stuff out of the way and an easy spot to grab food from while driving. I also keep a mason jar full of change in there for tolls which I really recommend having as well!
There you have it! That’s our Sprinter van conversion! I definitely want you to keep in mind that webuilt this thing on a budget. We almost never opted for the more expensive version of anything. So if you’re worried that this has to be an expensive process, just do the research and find ways of making it cheap! The counter tops and table are literally made from a couple of doors that we found instead of doing butcher block. It does not have to be extremely expensive, and you can certainly save money in different areas. I love this van and I hope you do too! Let me know if you have any questions.
Sydney Ferbrache
8 thoughts on “Sprinter Van Tour | Built On Budget”
What if you have to poop as well in the compost toilet?


What if you have to poop as well in the compost toilet?
Simply astonishing! Thank you for great information.
Batteries dans le même compartiment qu’un onduleur? Ça devrait être interdit
Batteries in the same compartment as a UPS? It should be forbidden
The design is great. What kind of tiles did you use in the kitchen?
Standard subway tiles! They should be in the van build shop if you’d like to see the exact ones!
How do you like the induction cooktop? We debated but weren’t sure we’d be getting enough power to run it.